
With NeetoPlaydash, you can integrate your GitHub repository to receive test run results directly in your pull requests (PRs). The results will appear as comments within the PR, while the live test status will be displayed as commit statuses. To connect Github with NeetoPlaydash, you need to connect your Github organization and the Github repository.
To integrate Github
Click on the Admin panel menu.
Click on the Github integrations card.
Click on the Connect Github account button.
-
In the Github app installation page, select the organization you want to connect with.
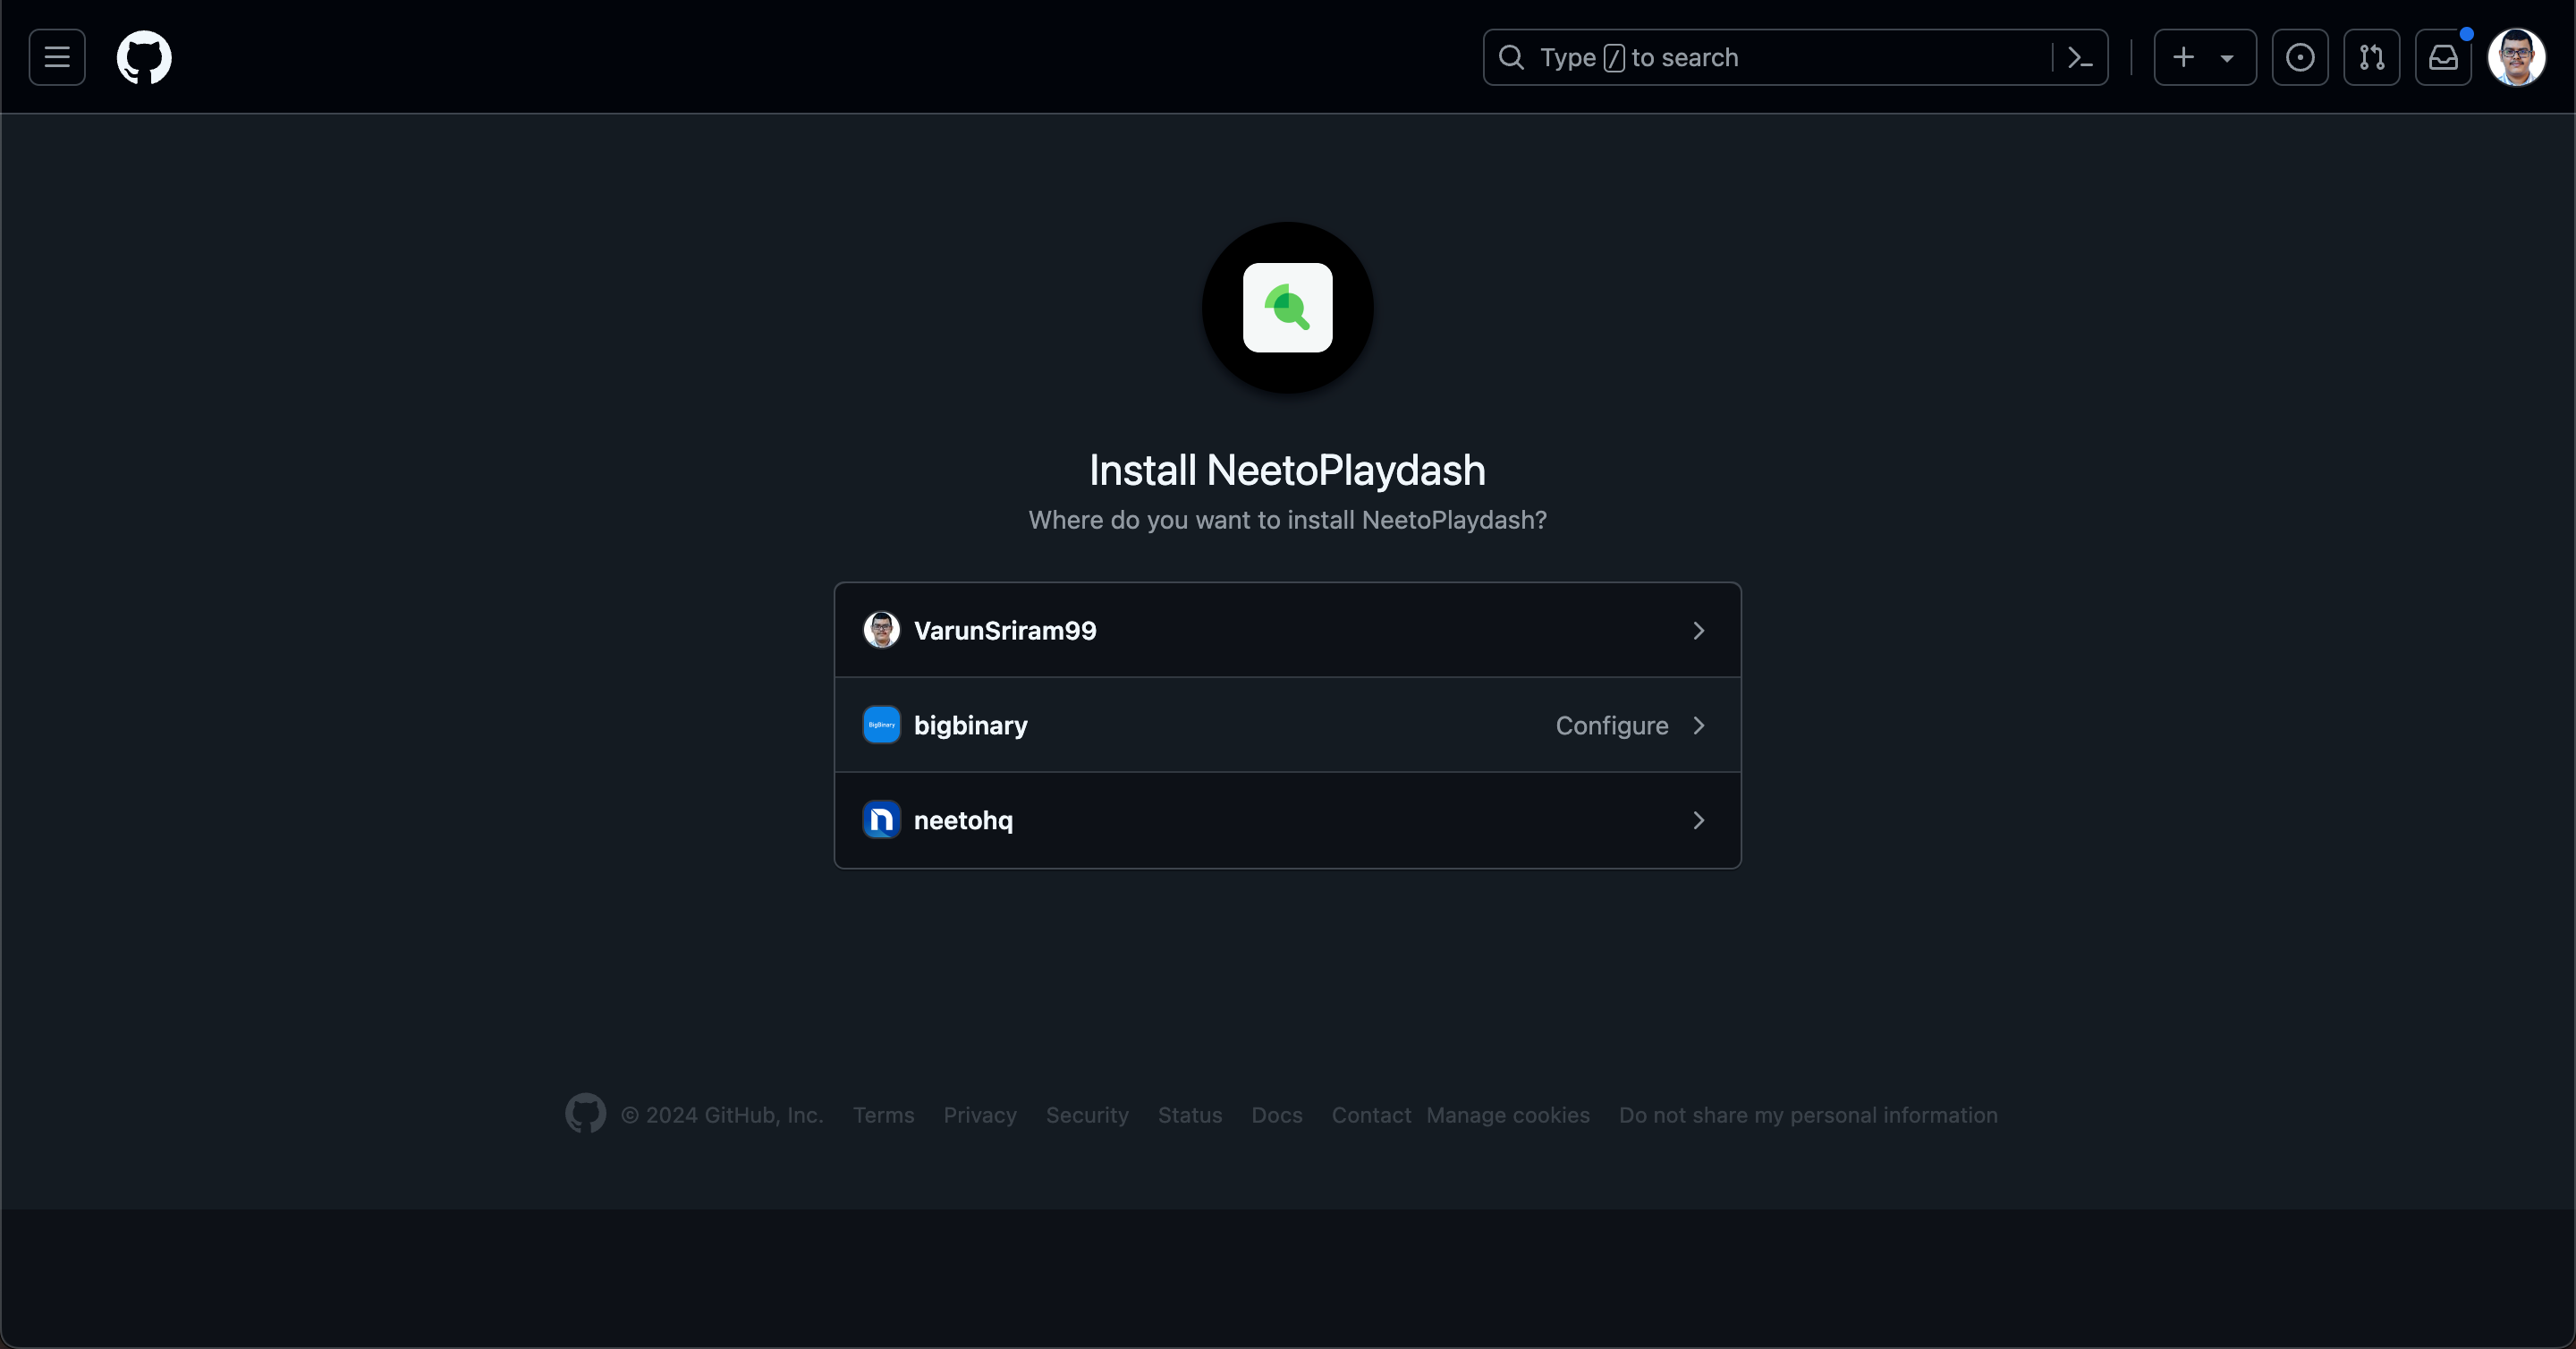
Github app installation page -
[Optional] Choose the repositories to which you want to grant access.
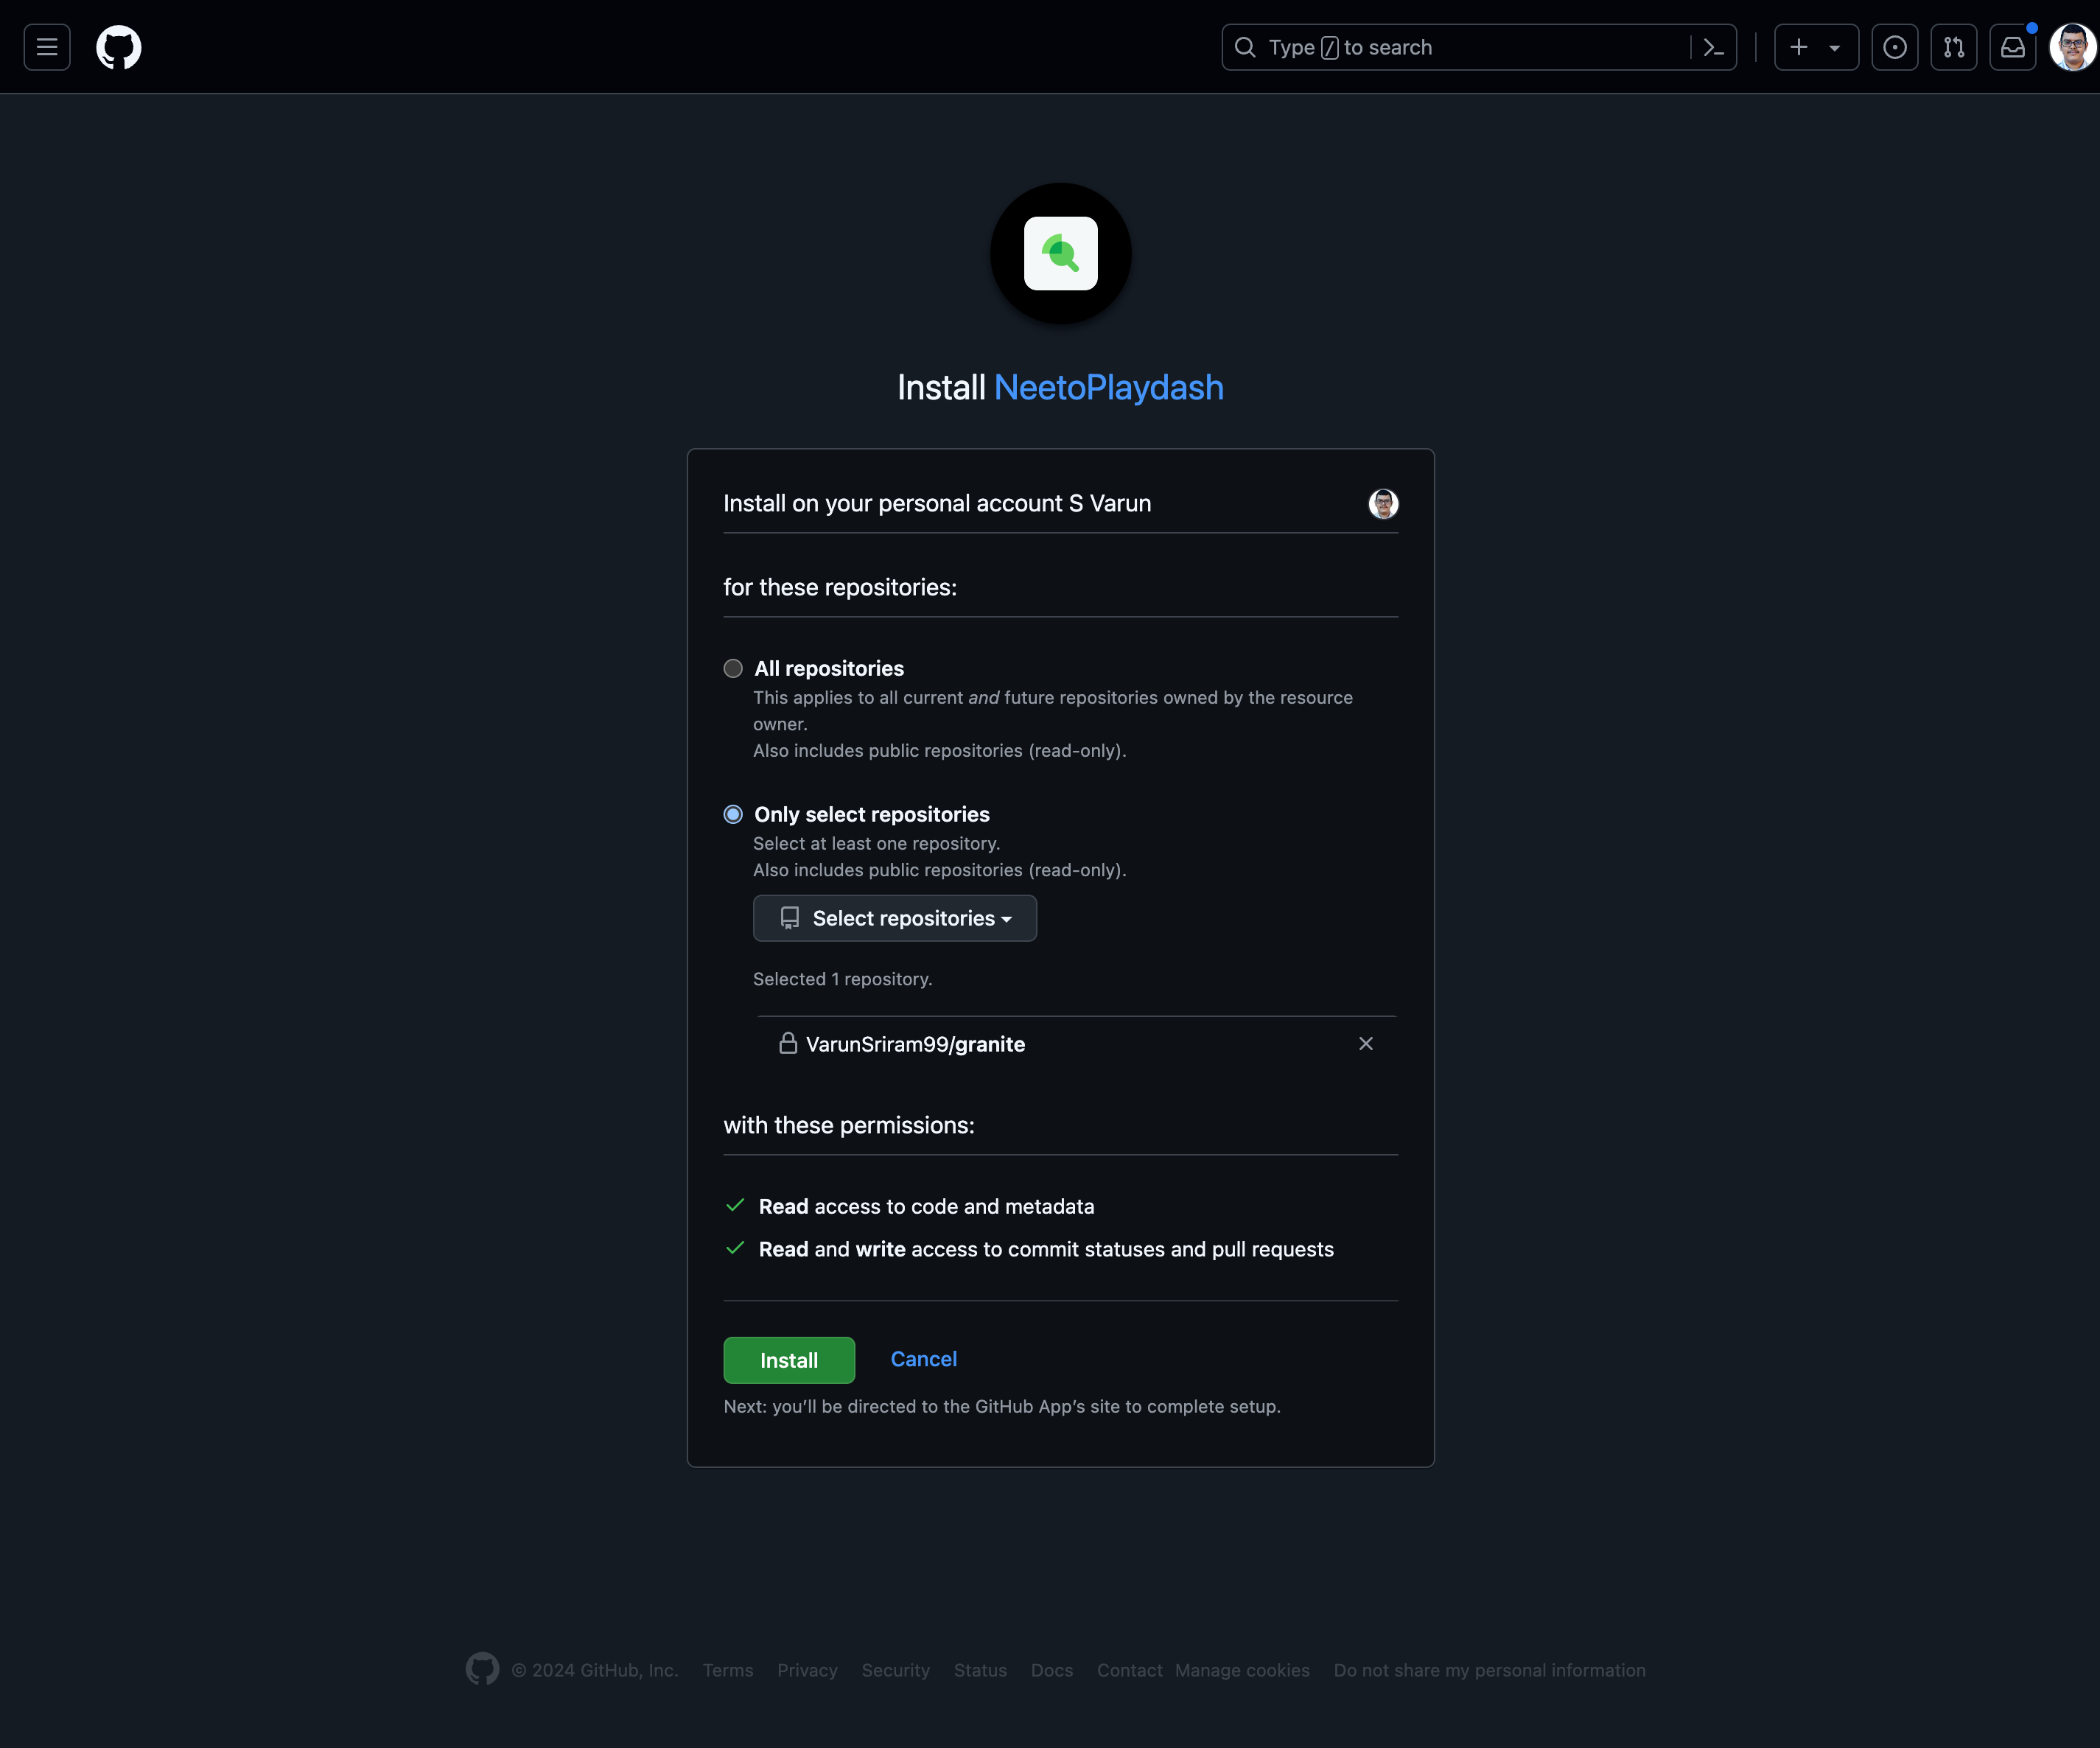
Github app permissions page -
Verify the permissions and click on the install button.
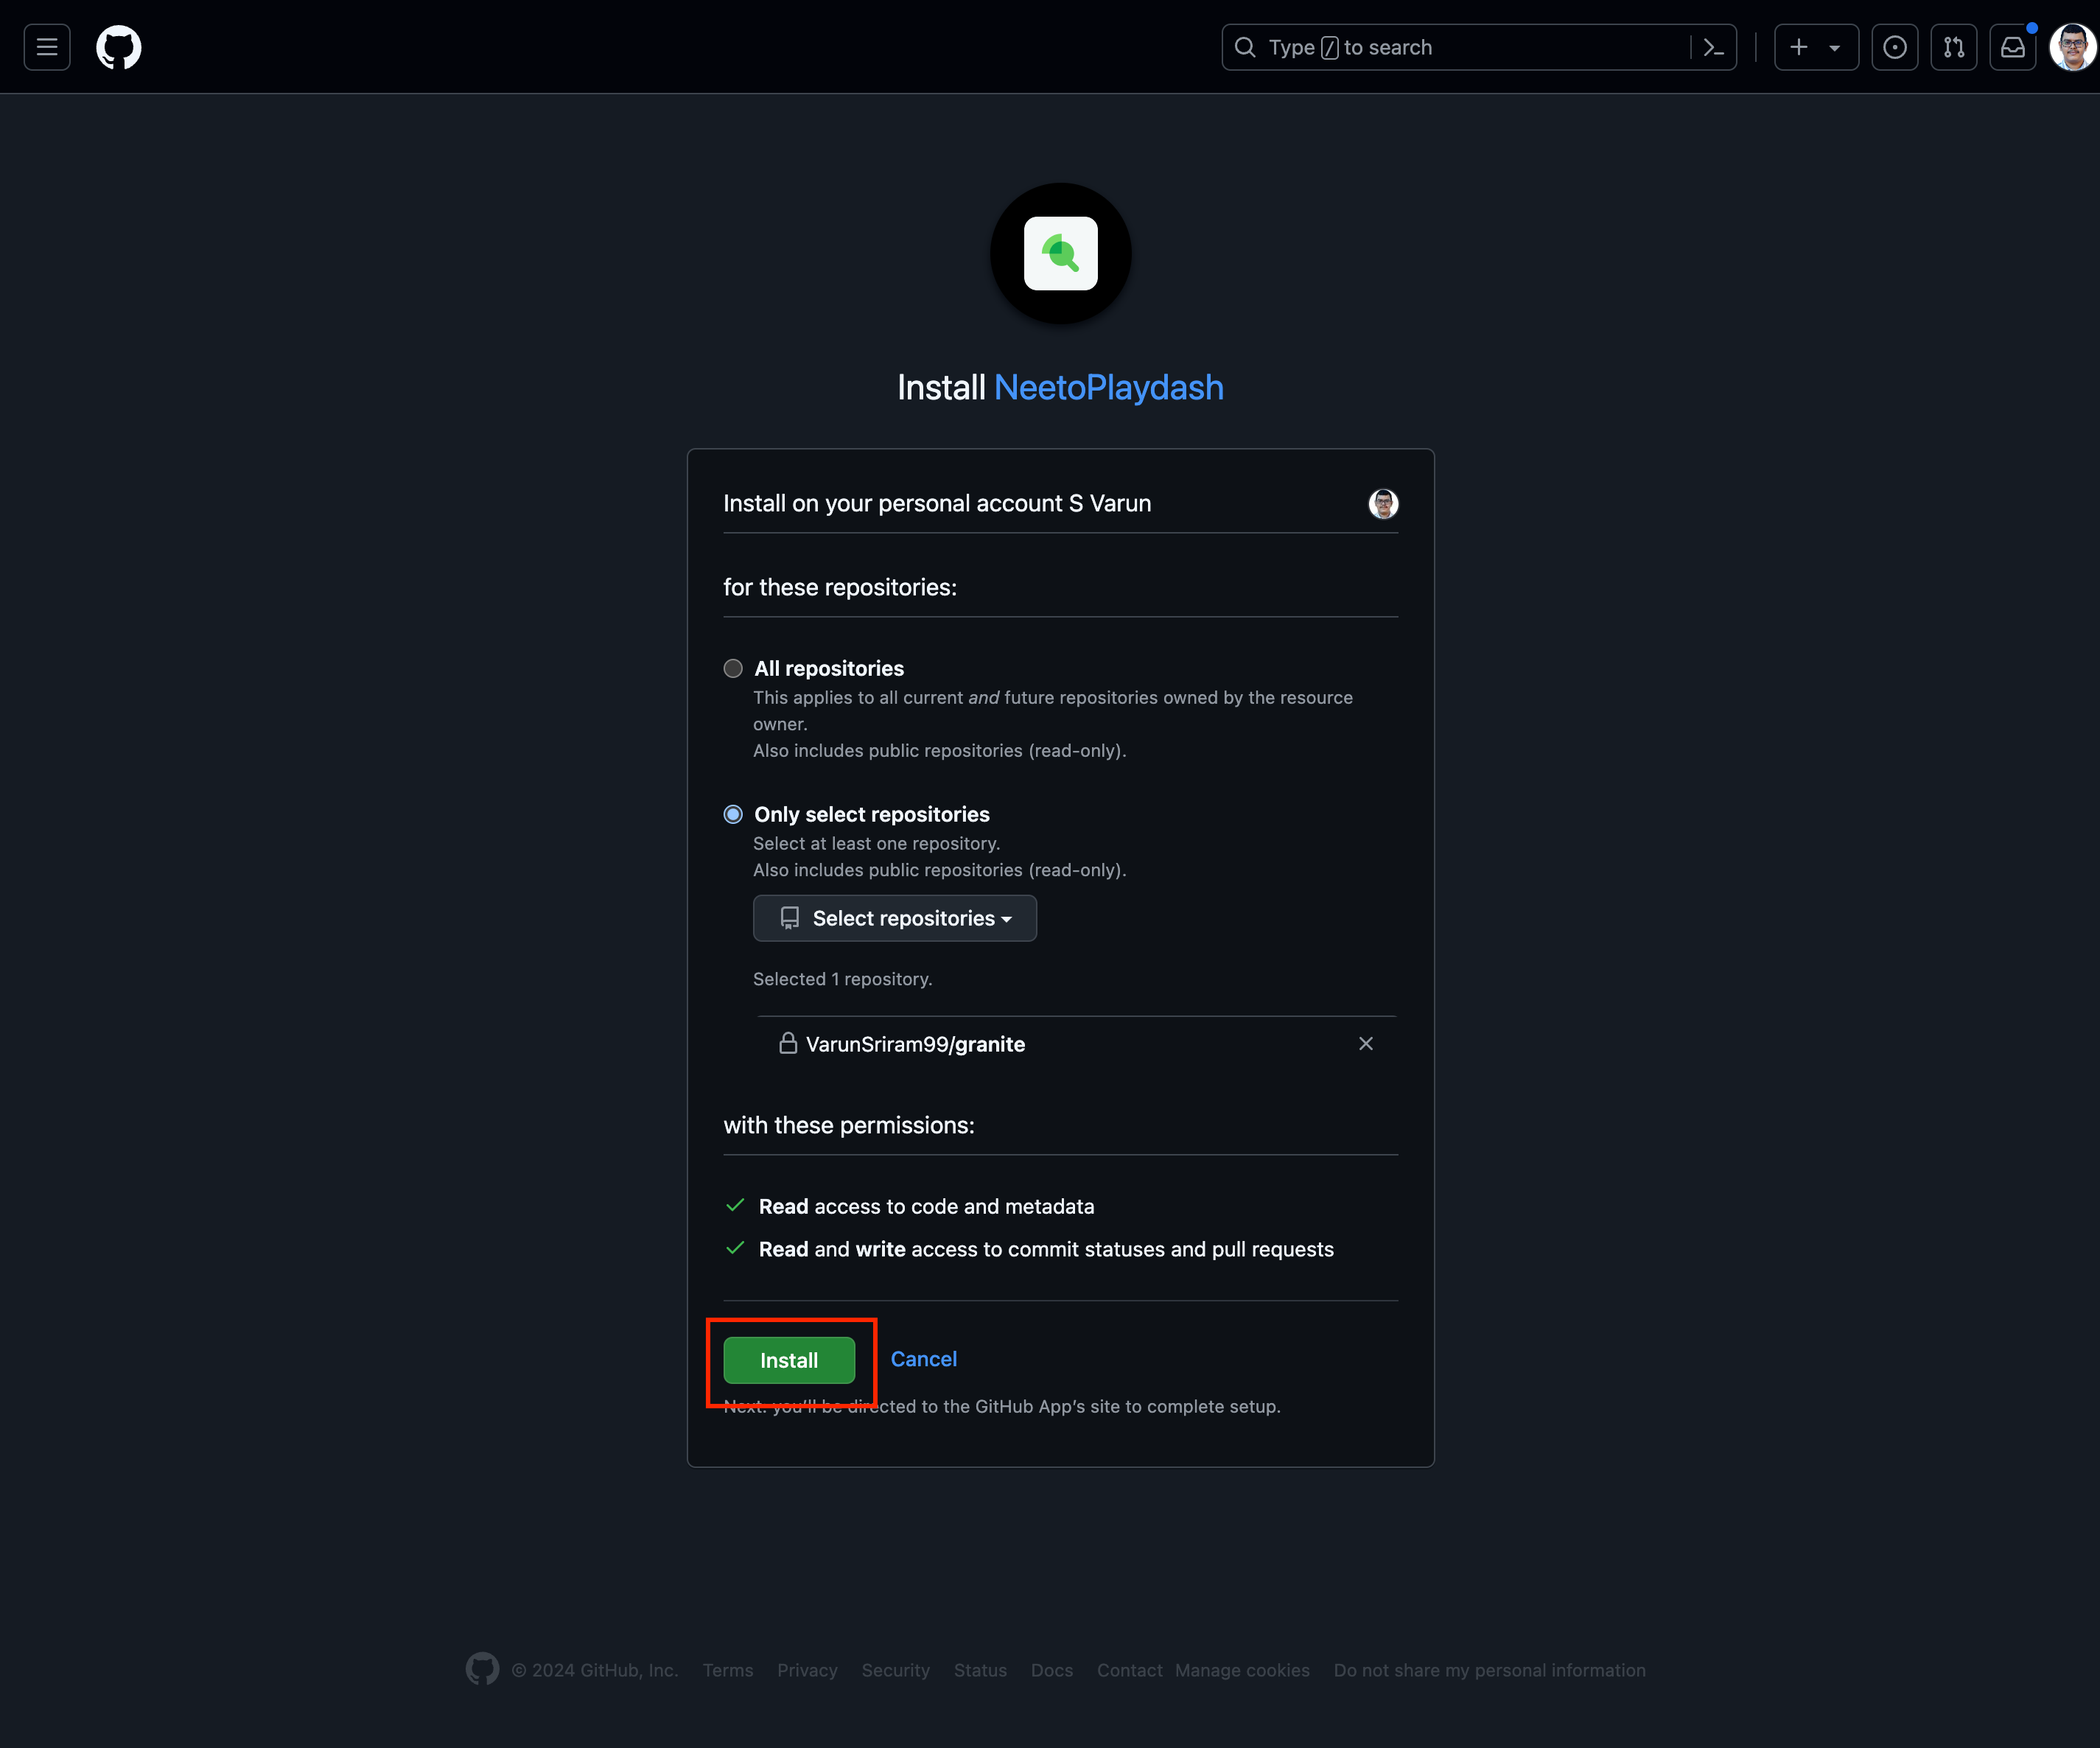
Github app permissions page | Installation -
This will install the application and redirect to the Github integrations page where you will see the account you installed listed on the page.
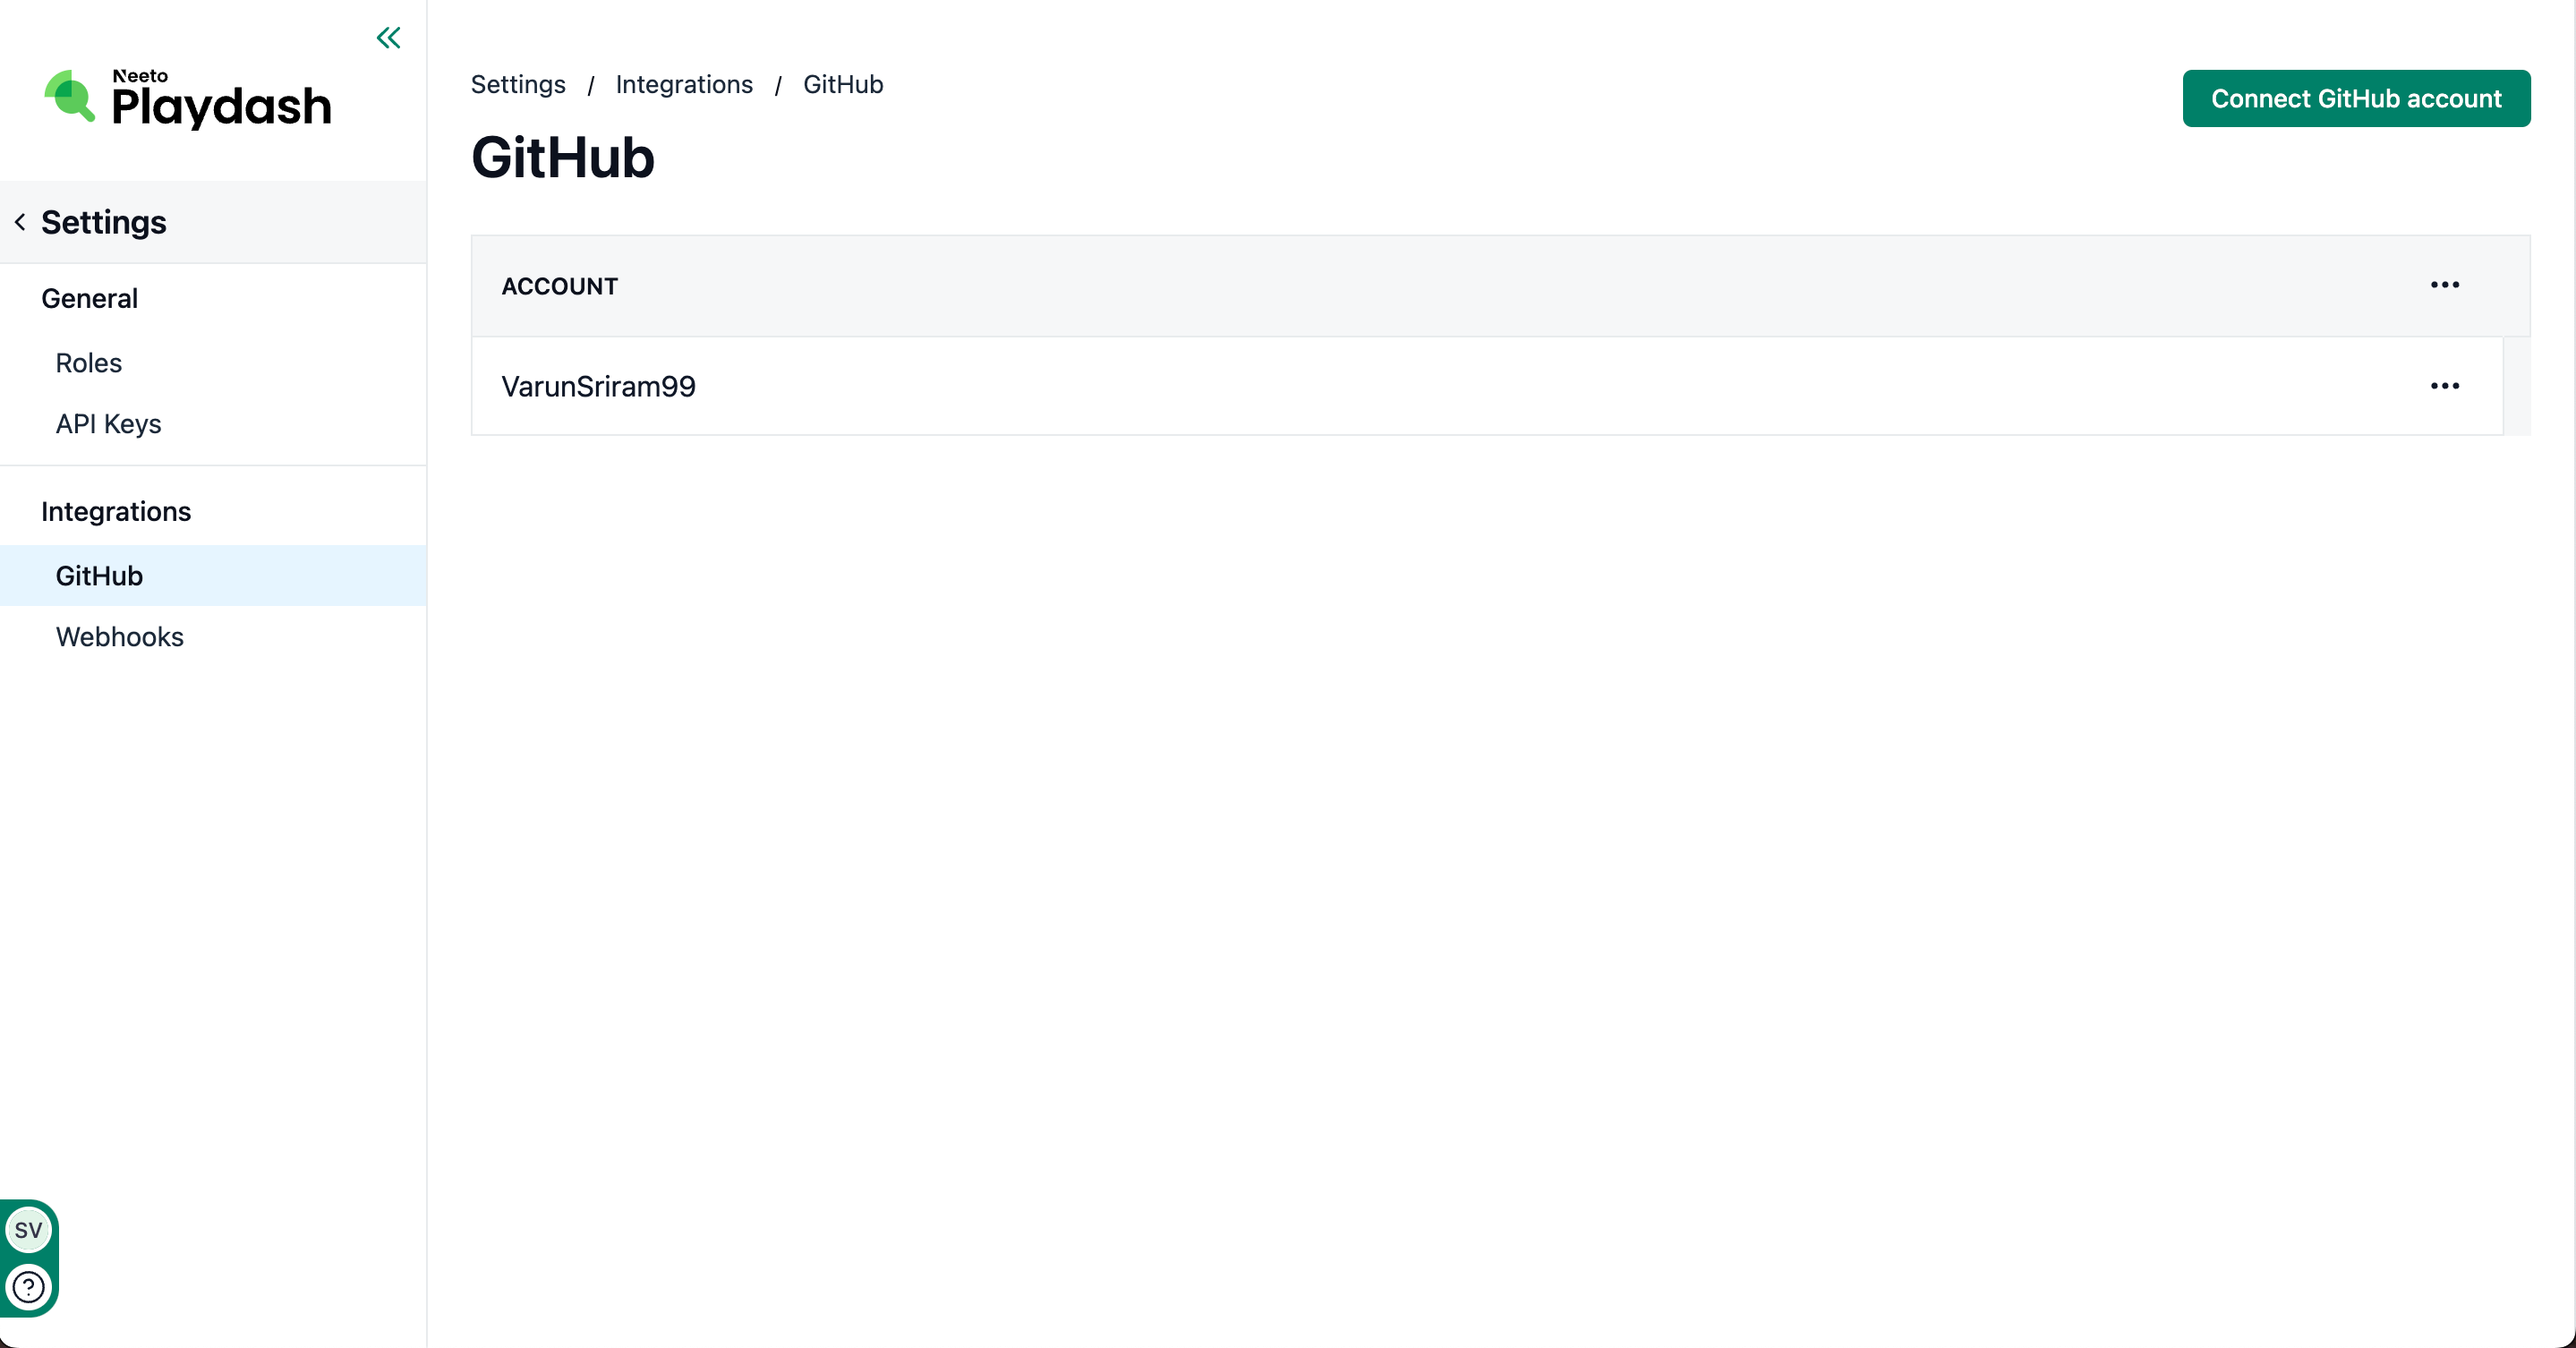
Github integrations page | Connected organization
Connecting and configuring Github repository
-
Choose the project for which you want to send Slack notifications.
Projects dashboard Click the Settings tab to go to the project configuration menu.
In the project configuration screen, click on the Github card. This will open the Github configuration page.
In the Github configuration page, click on the Manage Github button. This will start the Github configuration wizard.
-
Choose Github repository: In the Github configuration wizard, choose the repository which you want to connect with the project. Once the repository has been selected, click on the Continue button.
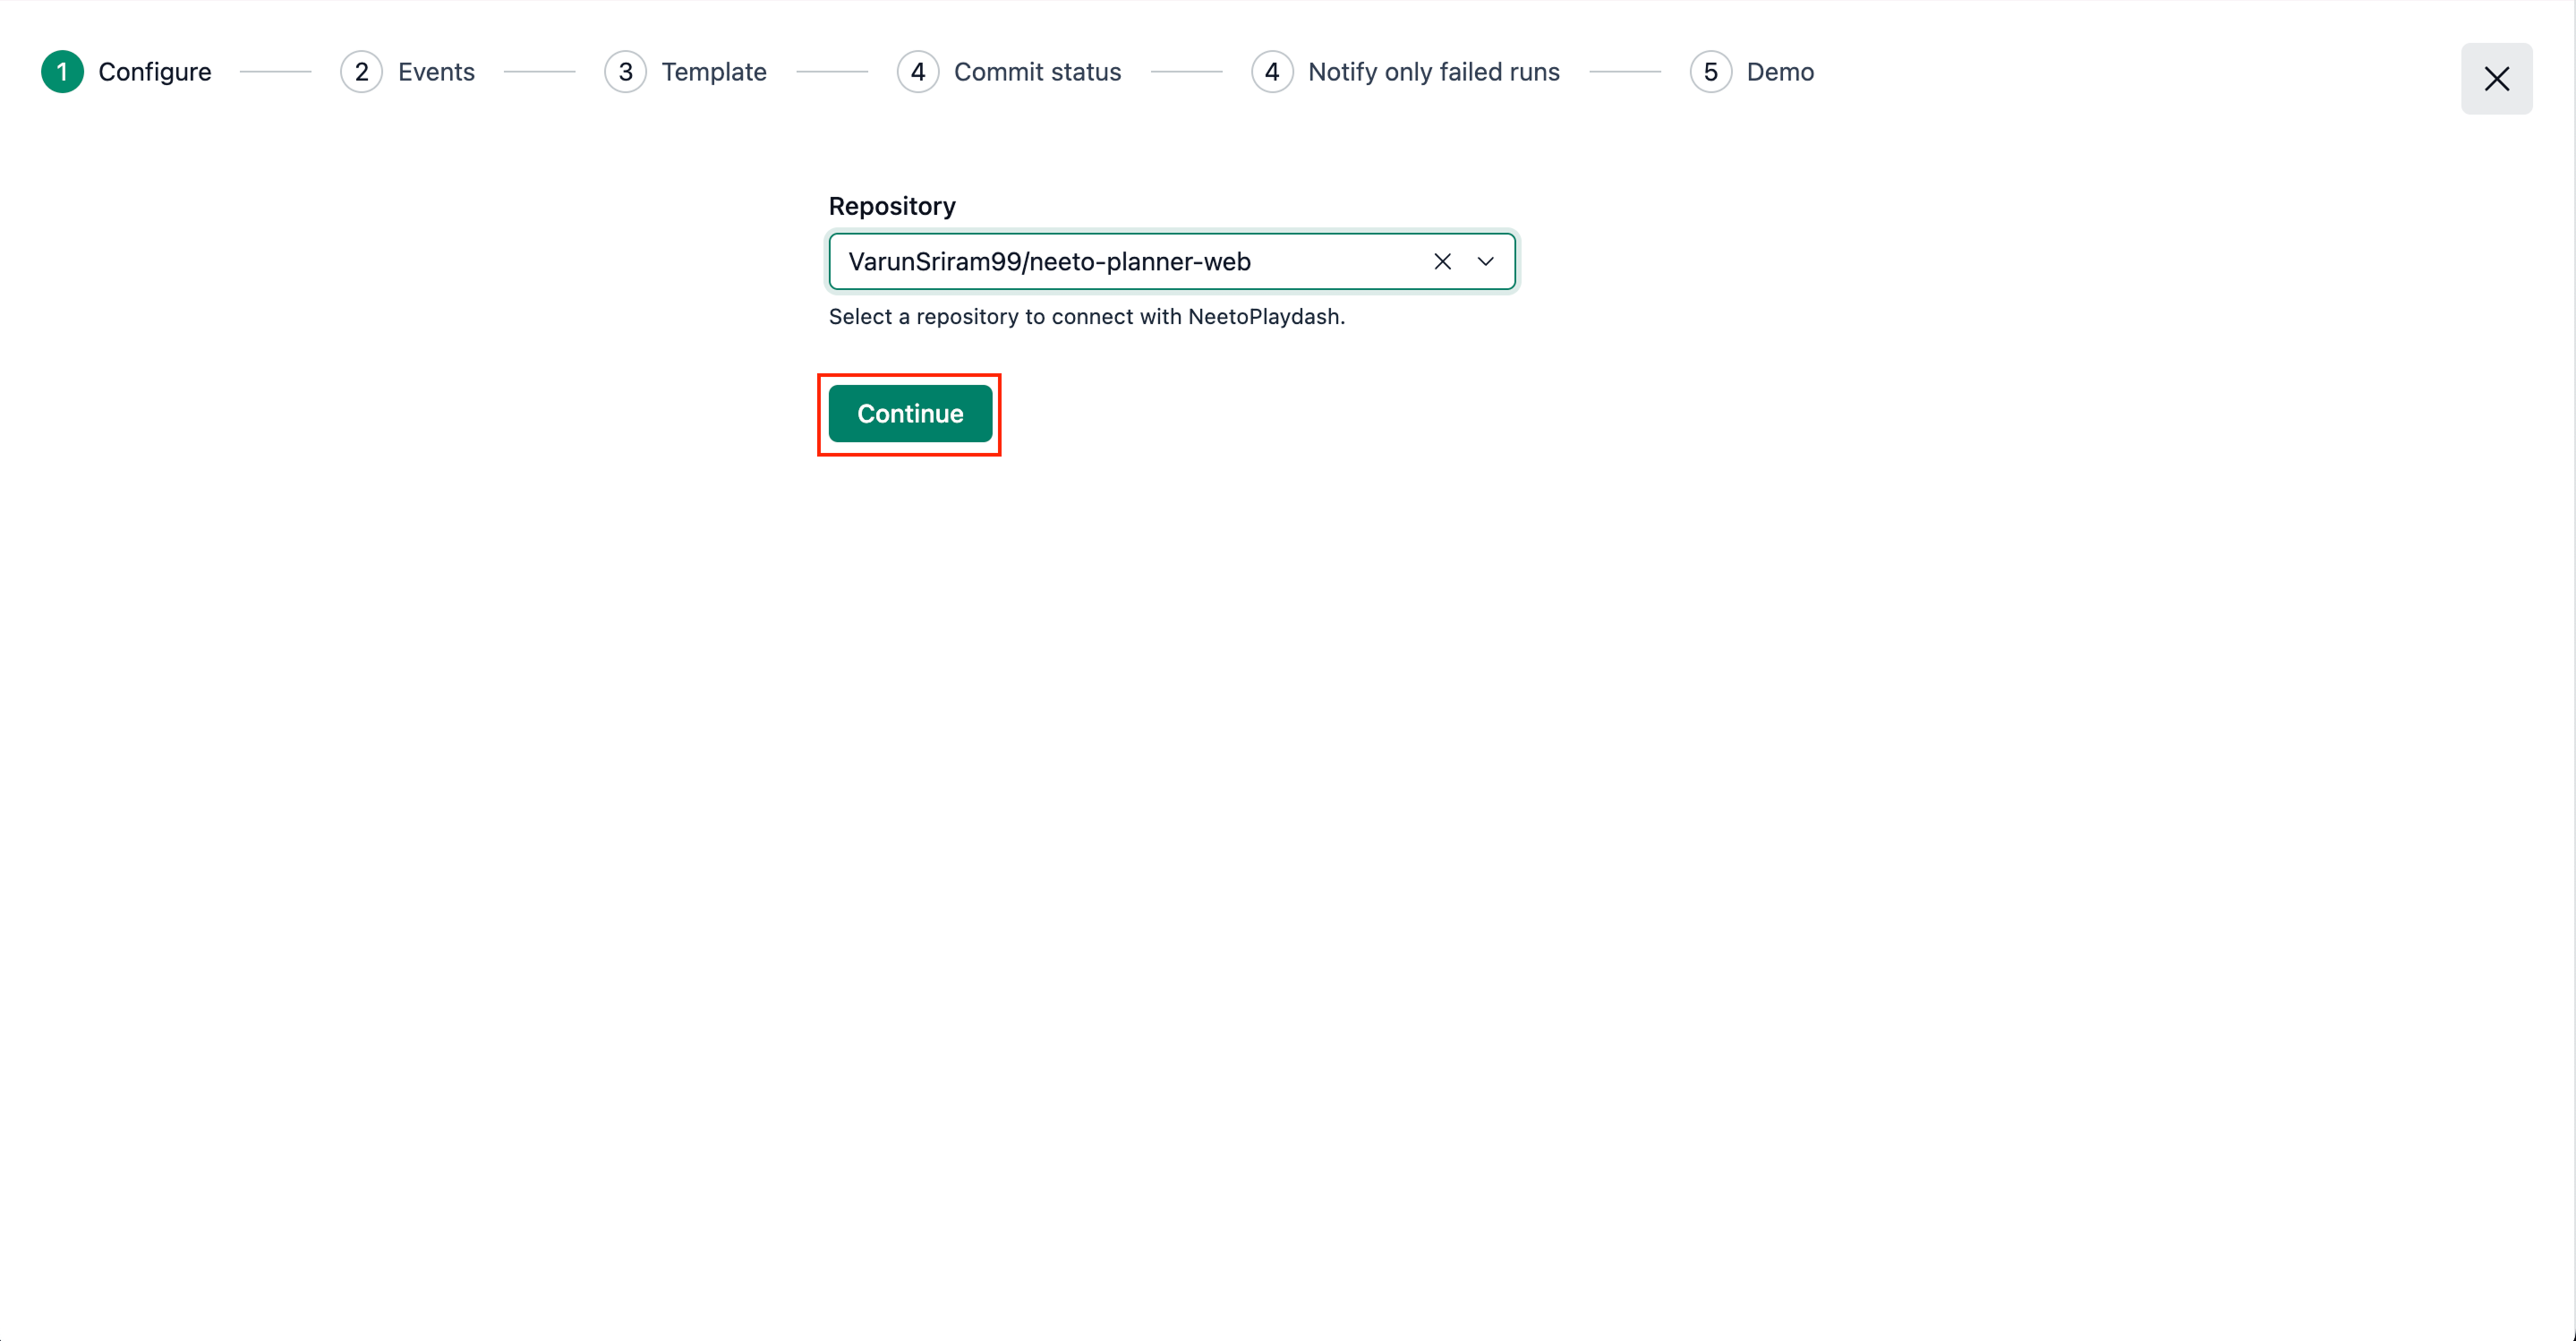.png)
Github configuration | Select repository -
Add trigger events: The step is optional. In this step, you can configure the events that trigger the Github notifications. These events include the branch name pattern and the tag pattern. Notifications will only be triggered for runs matching the configured patterns. The inputs support both plain string and regular expressions for additional flexibility.
This means that a branch patternprodwill match the branch names:prodproductionnew-prodprod1
You can provide a pattern for the git branch name as well as for the tags for the Playwright runs.
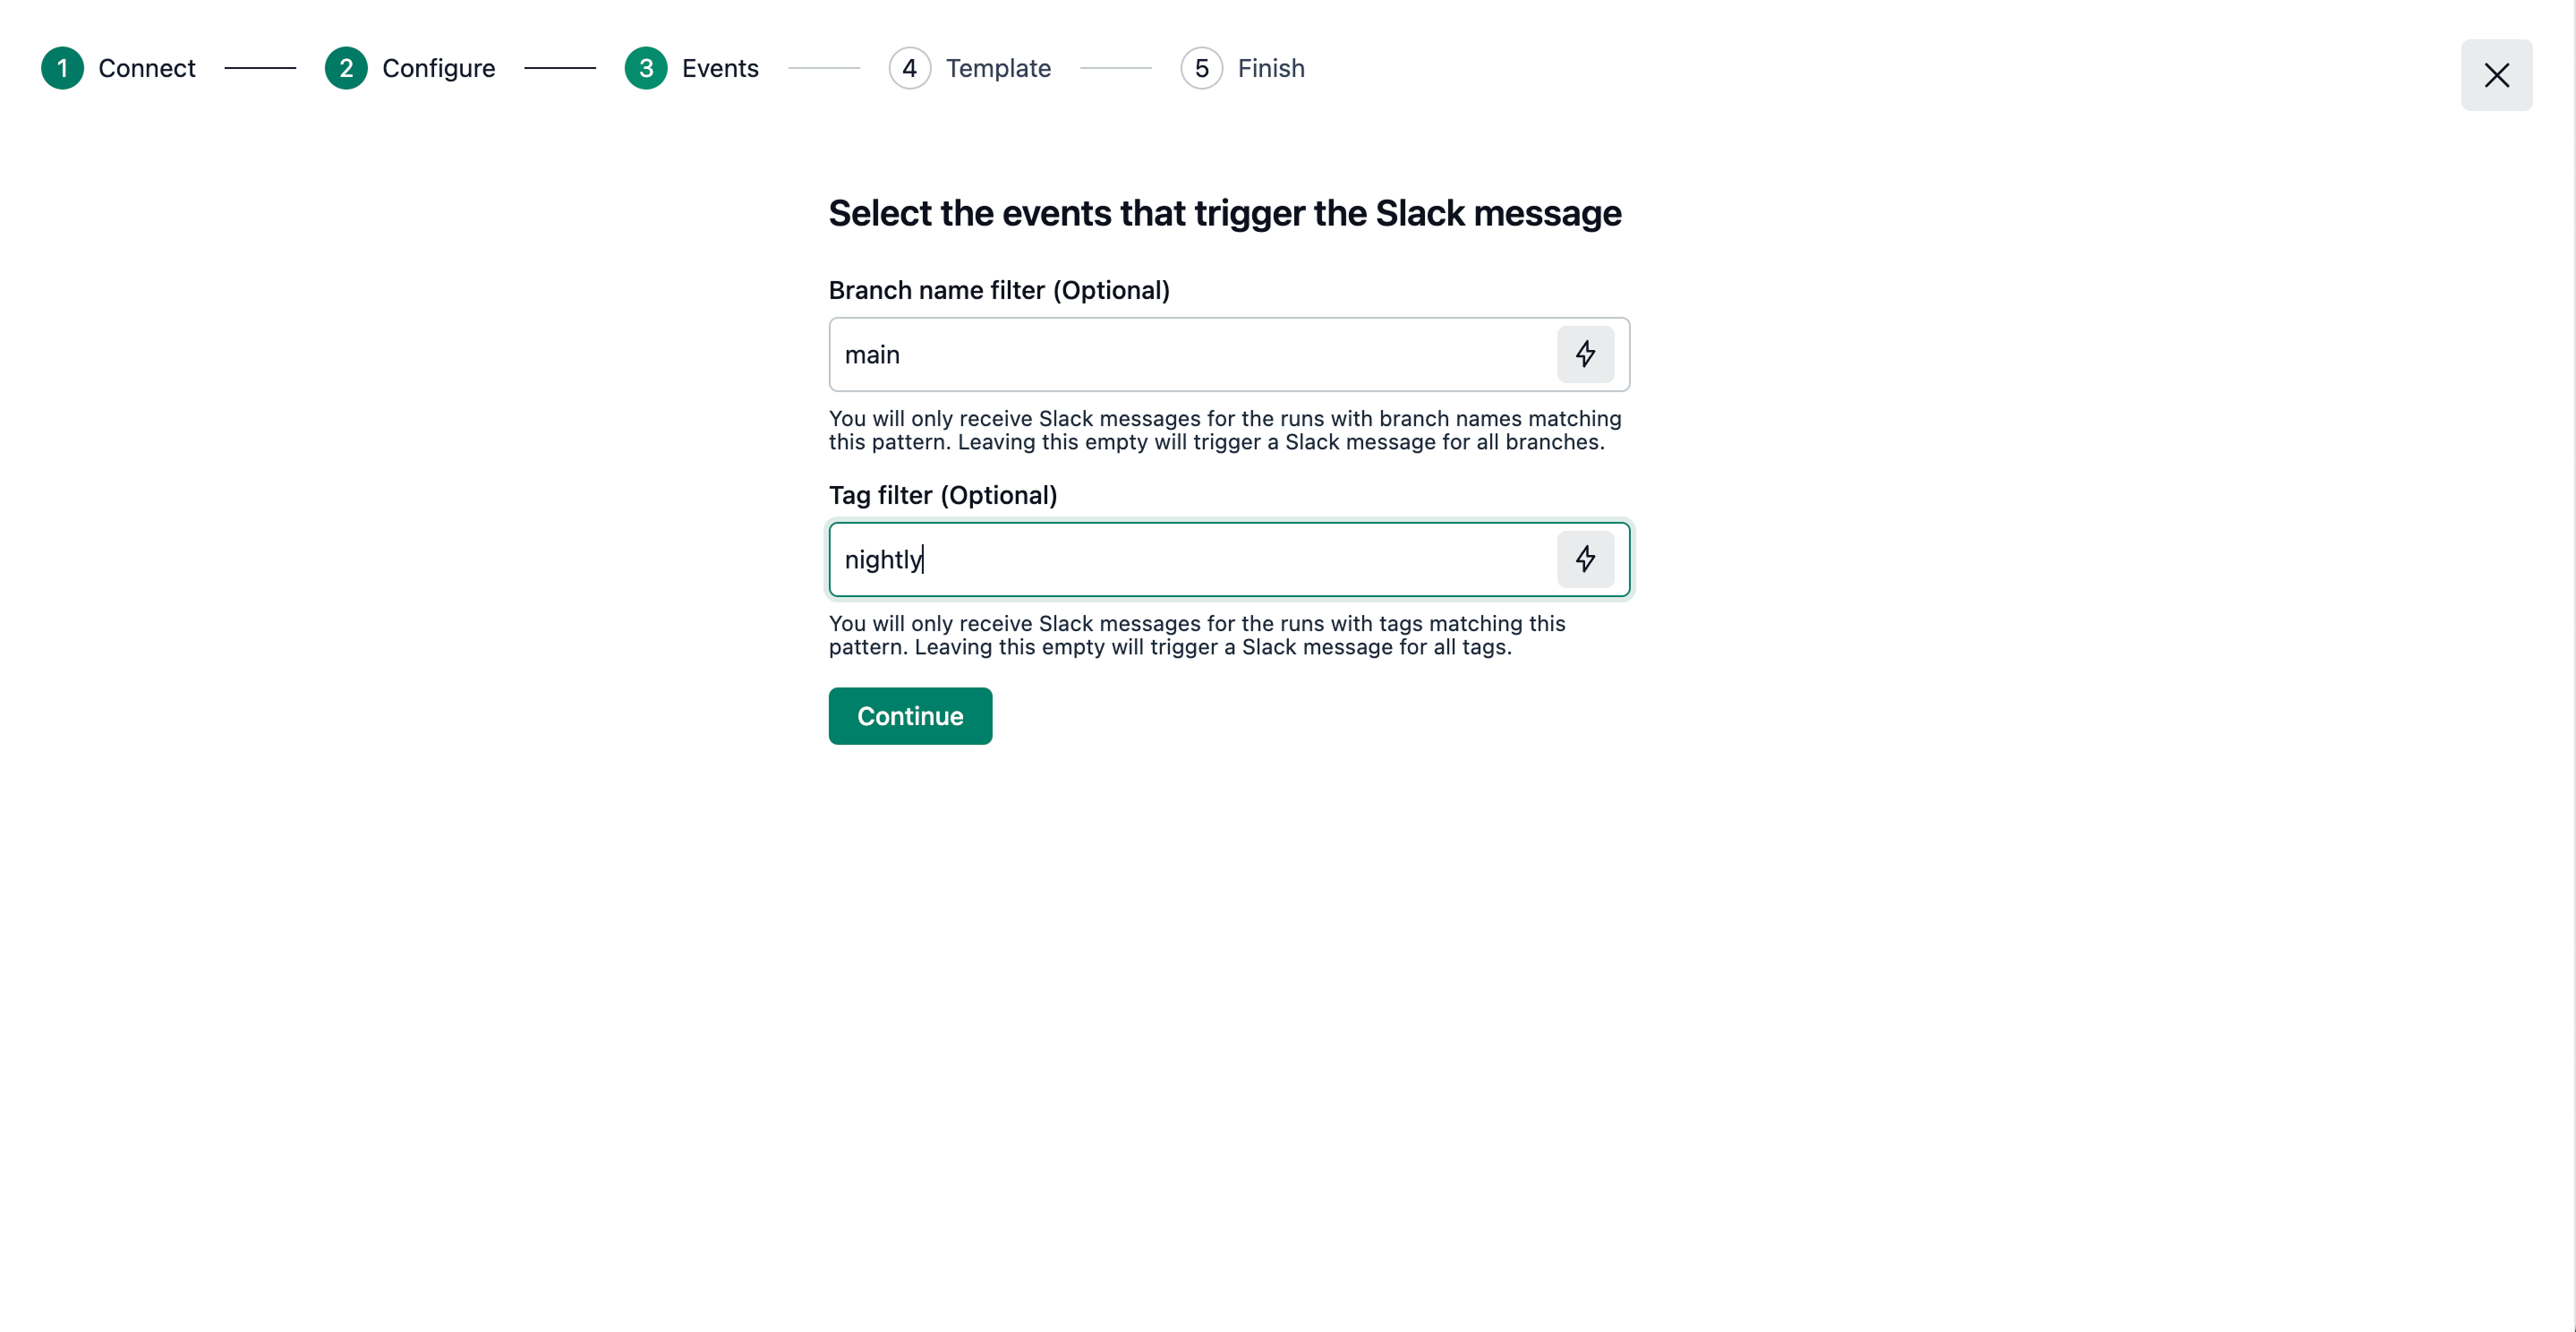.png)
Github configuration | Trigger events step You can also test the patterns you provided against some known values of branch names and tags by clicking on the Test your Pattern buttons on the respective fields.
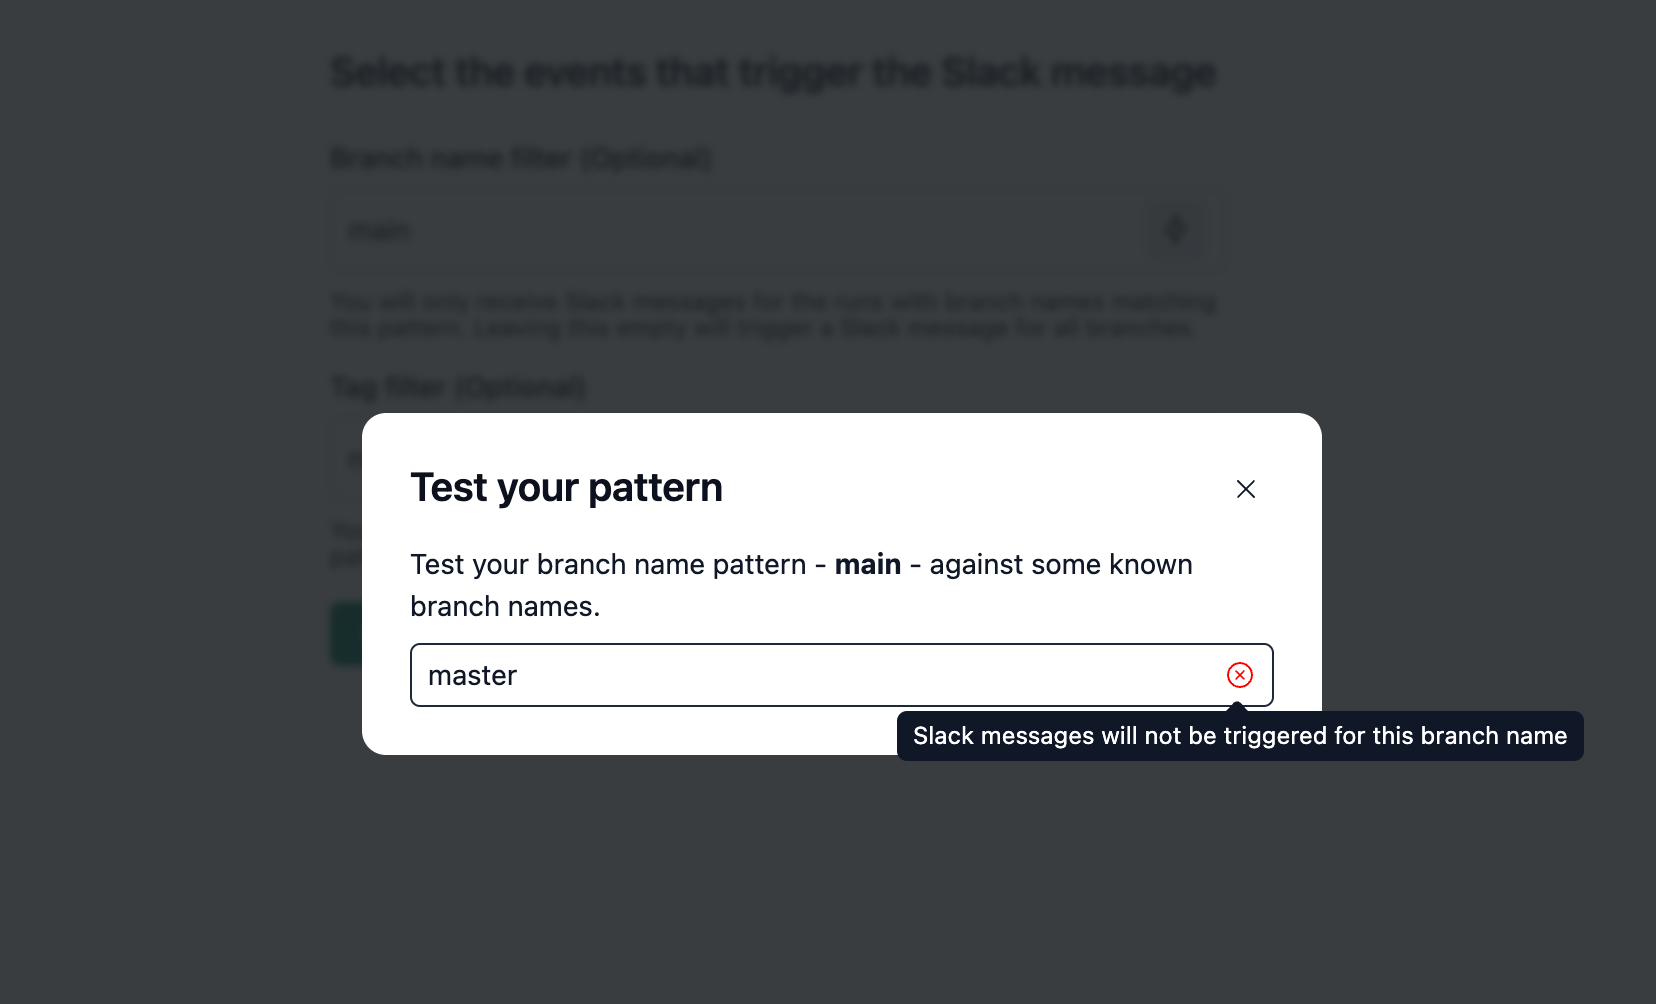
Pattern test with a non-matching branch name 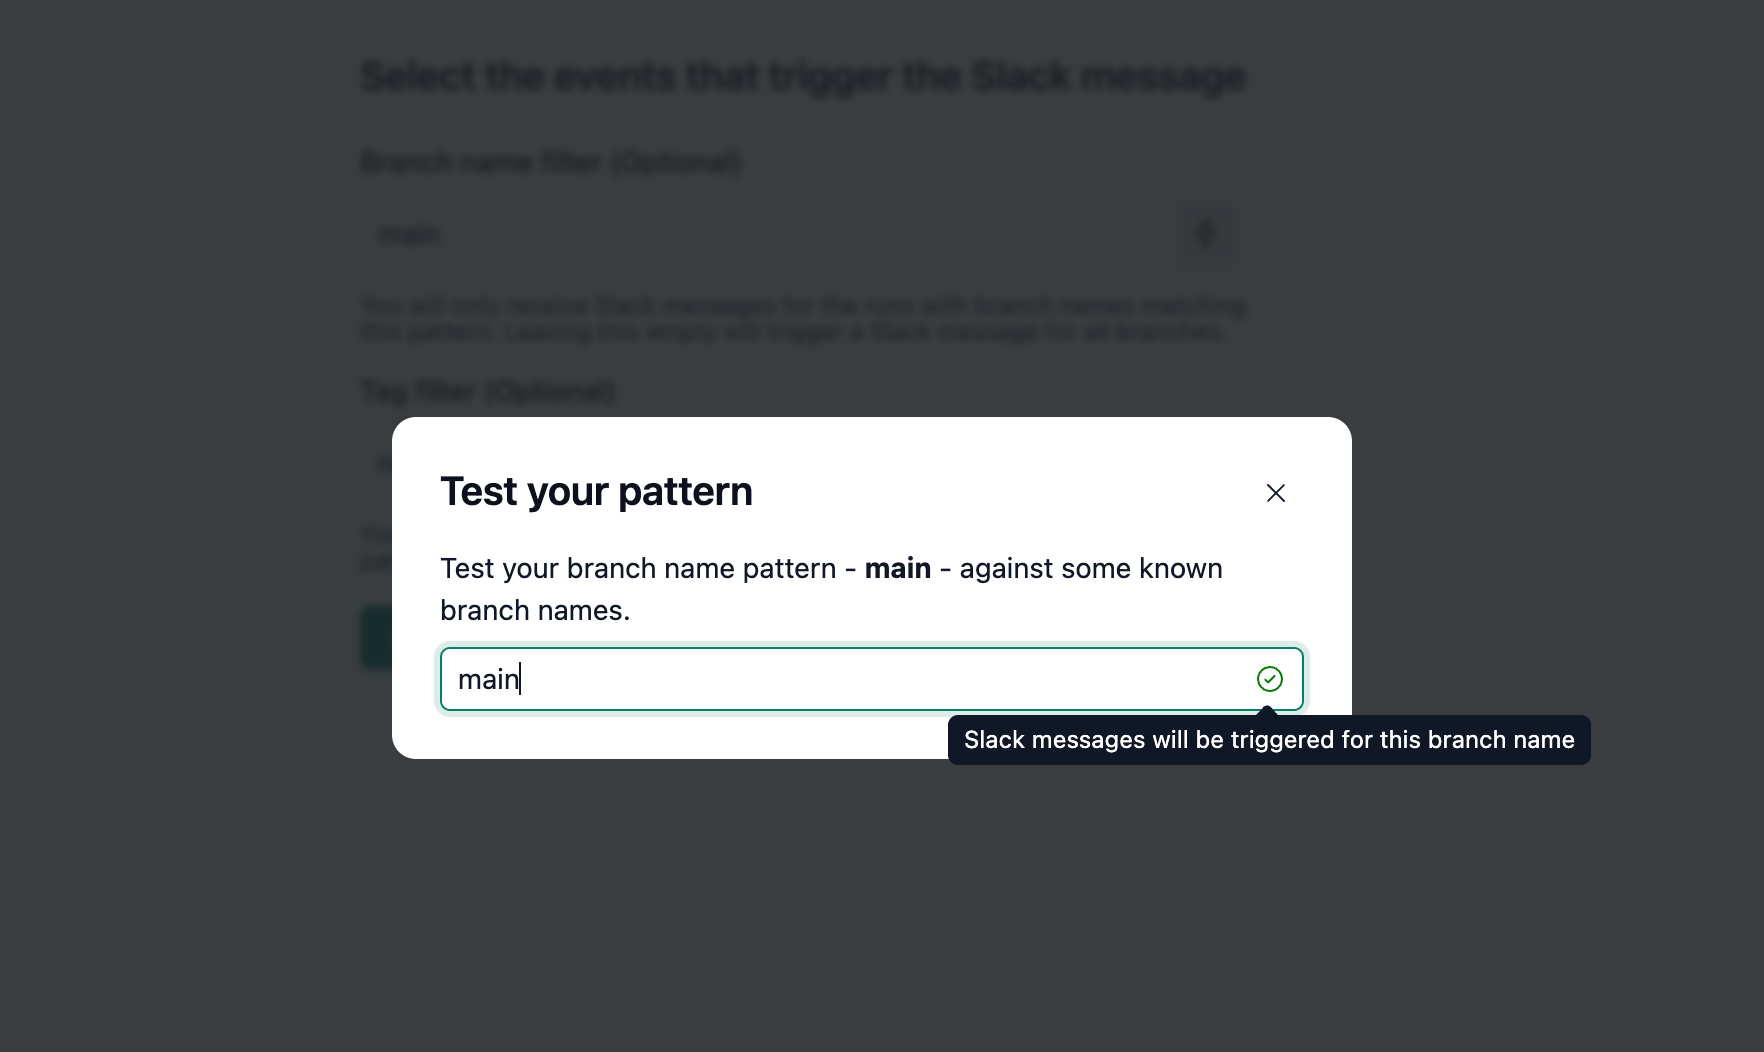
Pattern test with a matching branch name Once the patterns have been entered click on the Continue button to move to the next step.
If no changes have been made, notifications will be sent for all runs. -
Configure template: The step is optional. Configure the template for the Github notification you would like to see on the page. A set of predefined dynamic variables is available for you to customize the Github notification according to your needs. A live preview of how the final Github comment would look will be seen on the right-hand side of the page. Once you're satisfied with how the message looks, click on the continue button to move to the next step.
If no changes have been made, the notifications will be sent with the default template.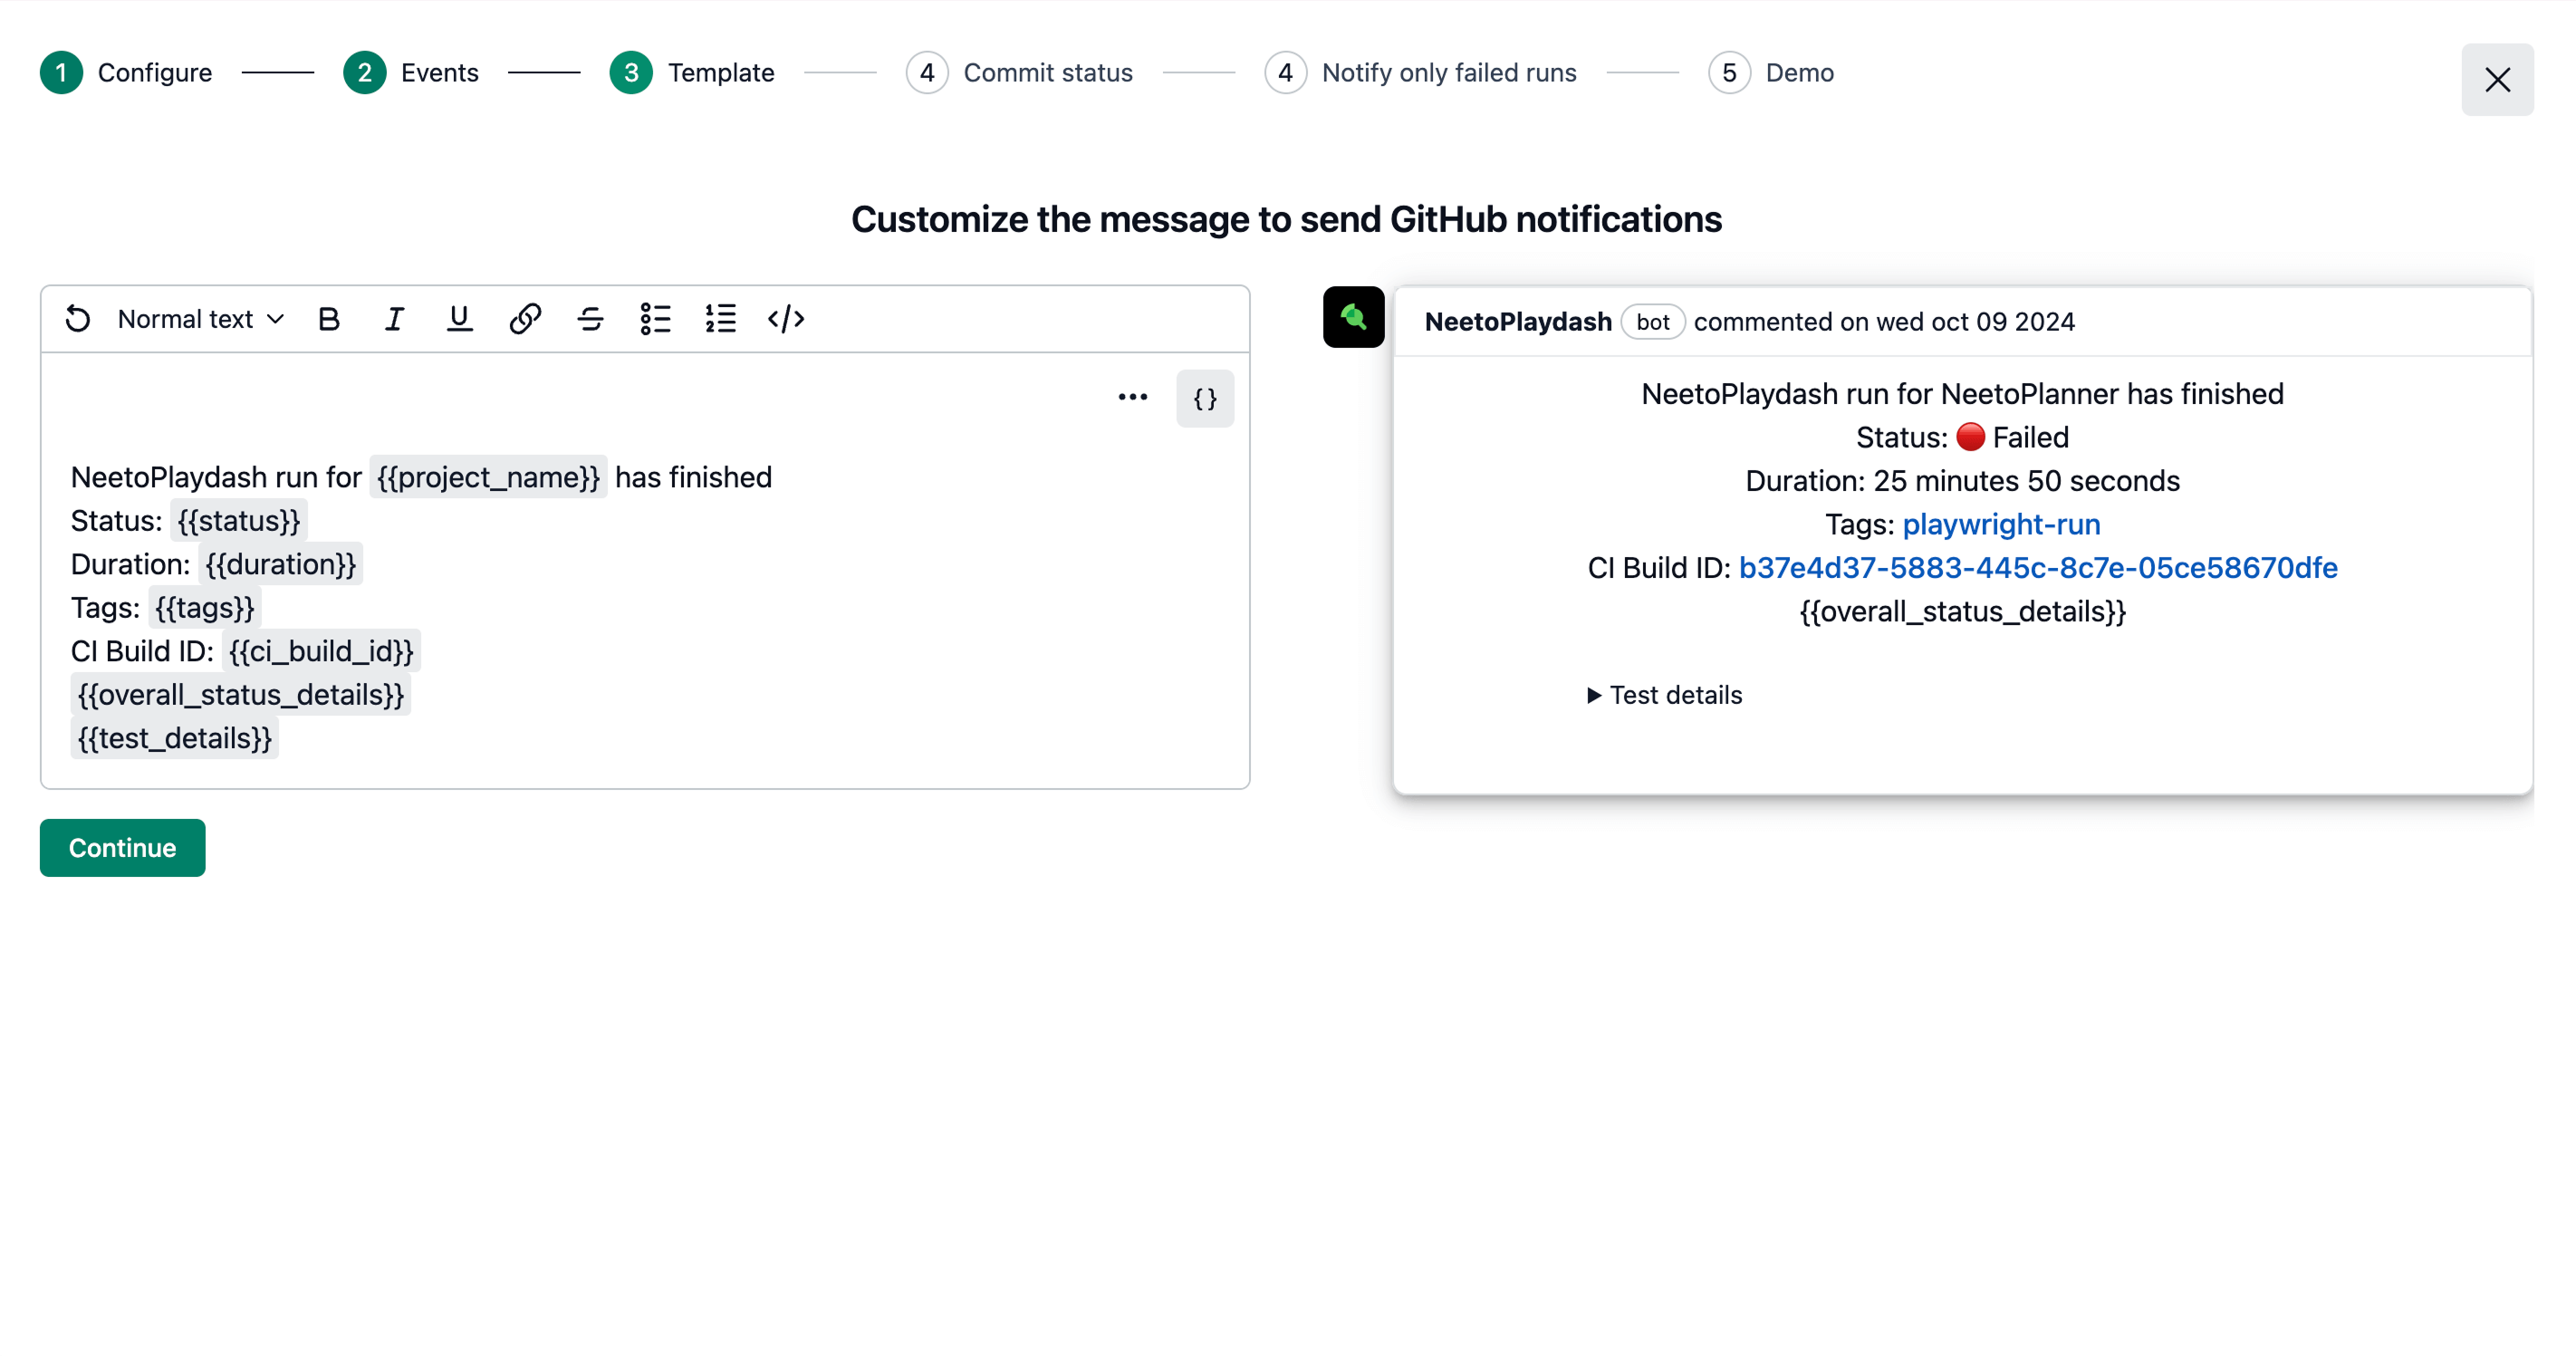.png)
Github configuration | Configure template -
Configure commit status: The step is optional. NeetoPlaydash has the ability to add commit statuses in Github. To enable commit status, enable the Send commit status switch.
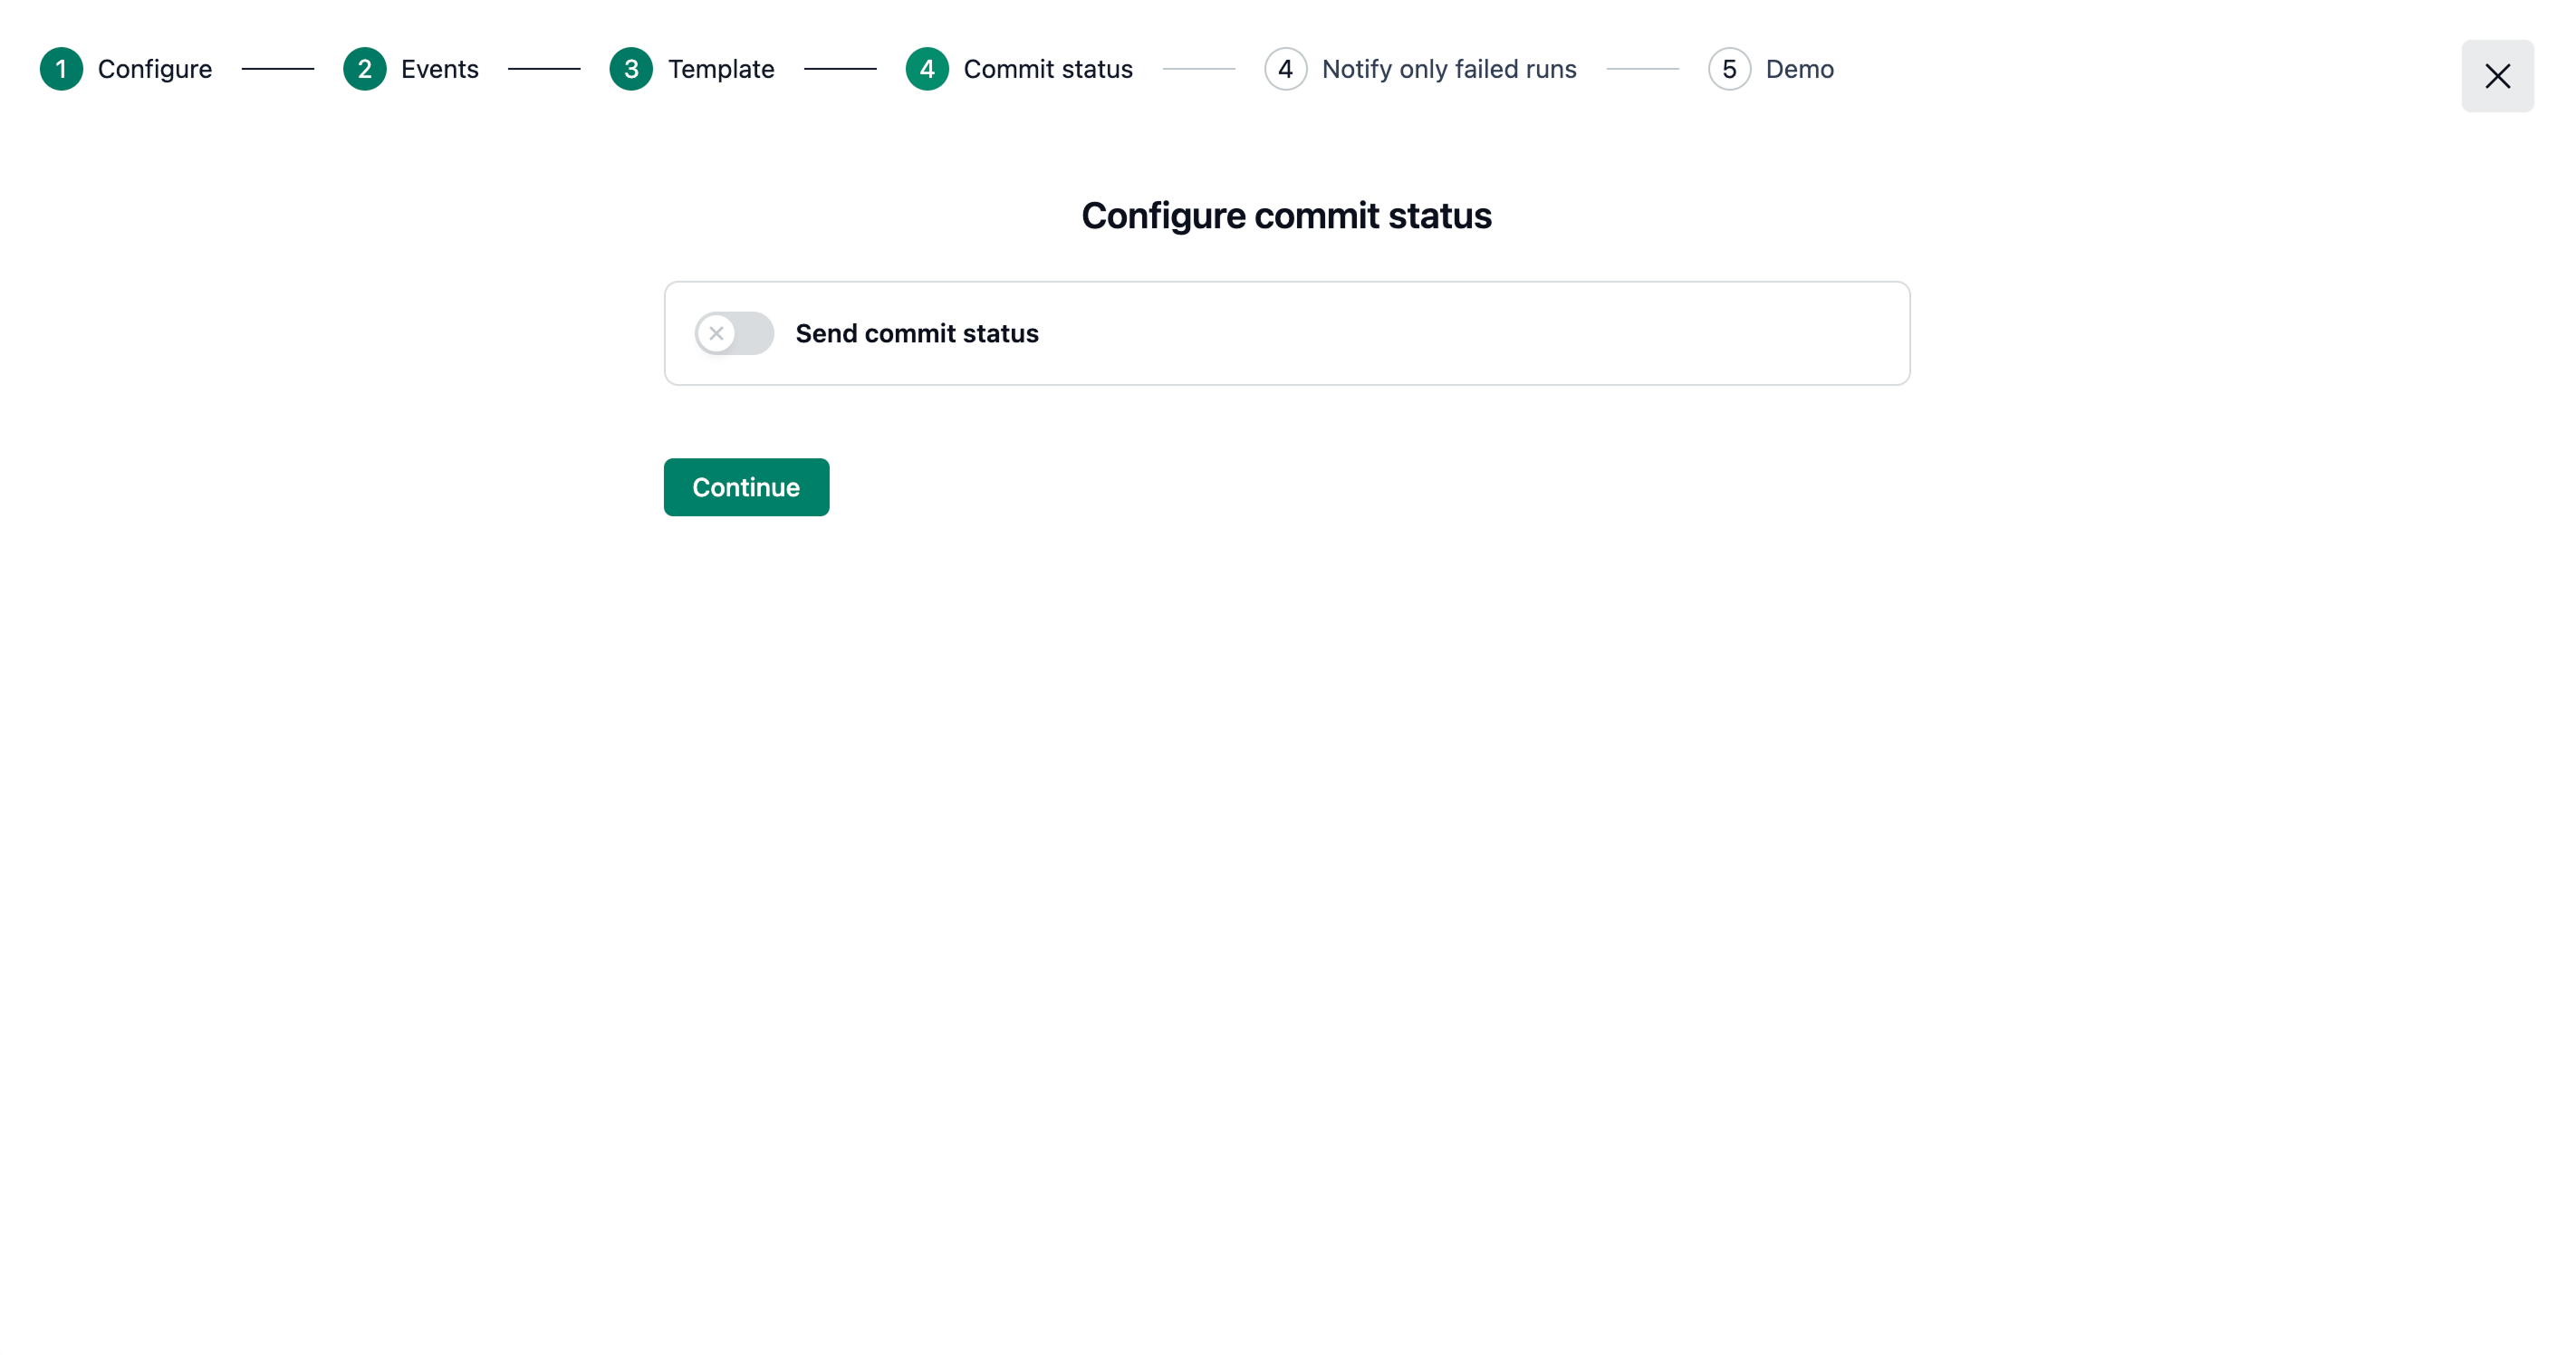.png)
Github configuration | Enable commit status Once enabled, you will be able to customize the commit status message. Once done, click on the Continue button to move to the next step.
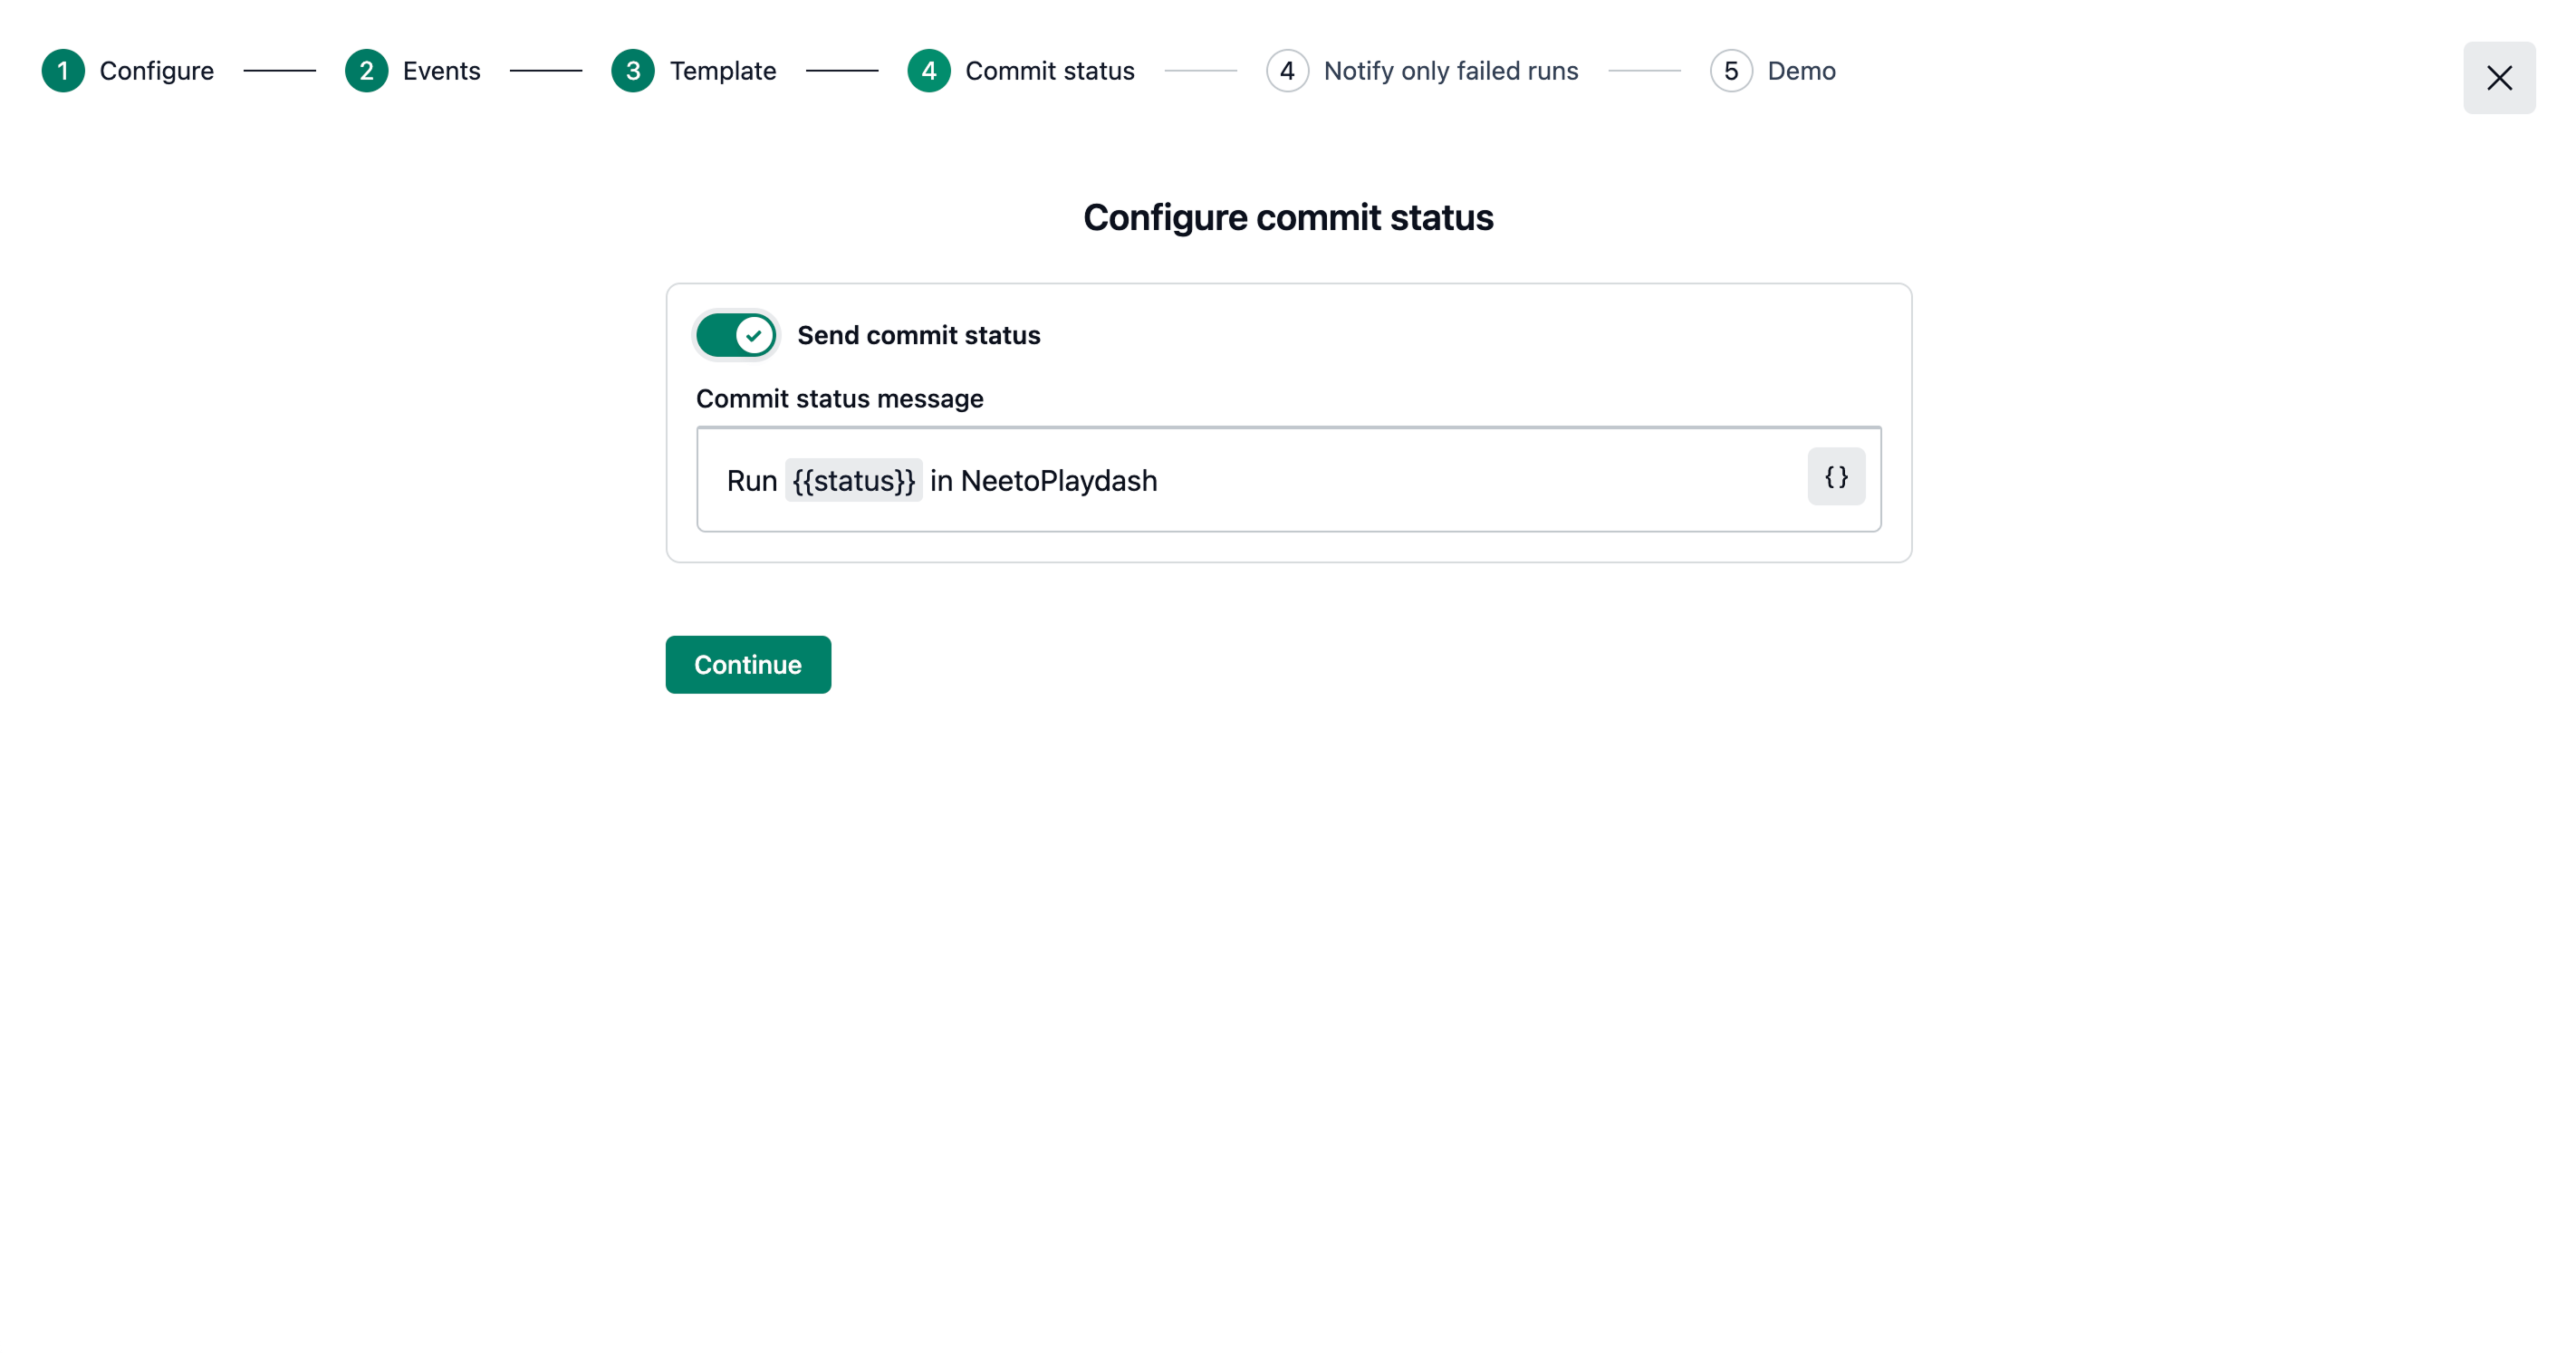.png)
Github configuration | Customize commit status -
Notification preferences: This is an optional step. enable on the Send Github notification only for failed runs switch to send Github notification only for failed runs. Click on the Continue button to continue to the last step.
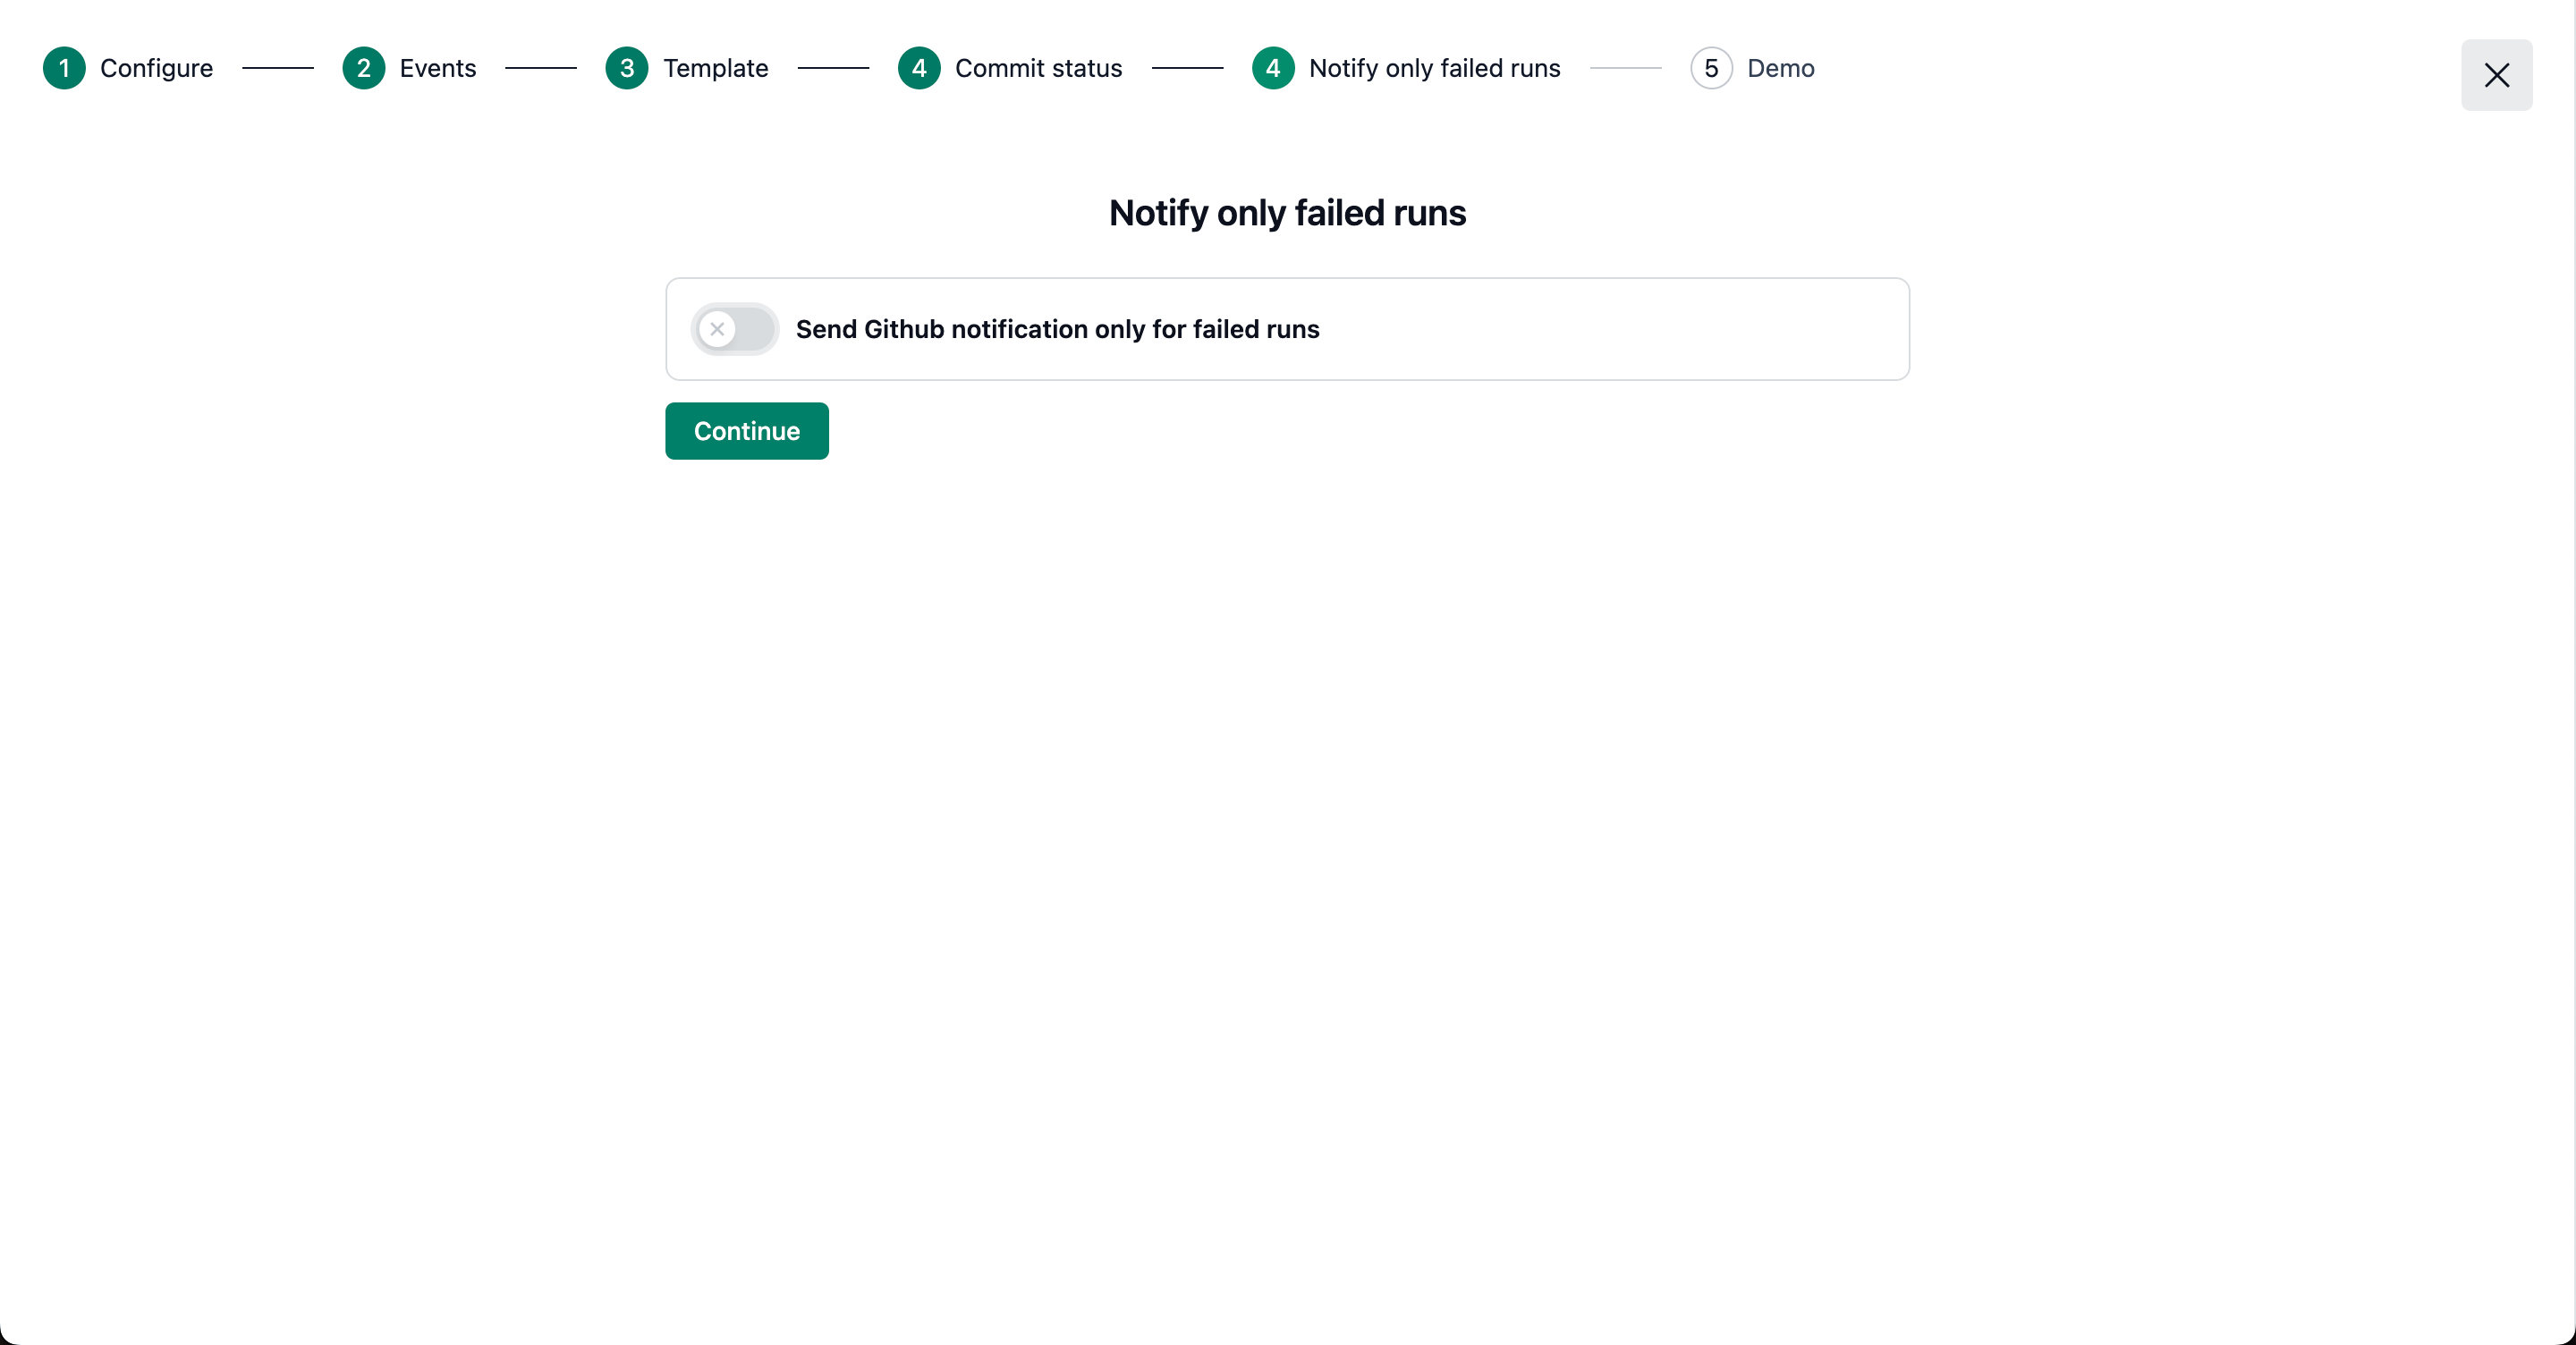
Github configuration | Notify only failed runs In the last step, click on the Finish button to complete the setup.
Demo
Configuring notification filters for GitHub
You can choose which events should trigger a GitHub notification by setting the notification filters for GitHub. You can find more details about the notifications filters from this link.